A Masterclass in Growing and Using Aloe Vera
More Than Just Decor
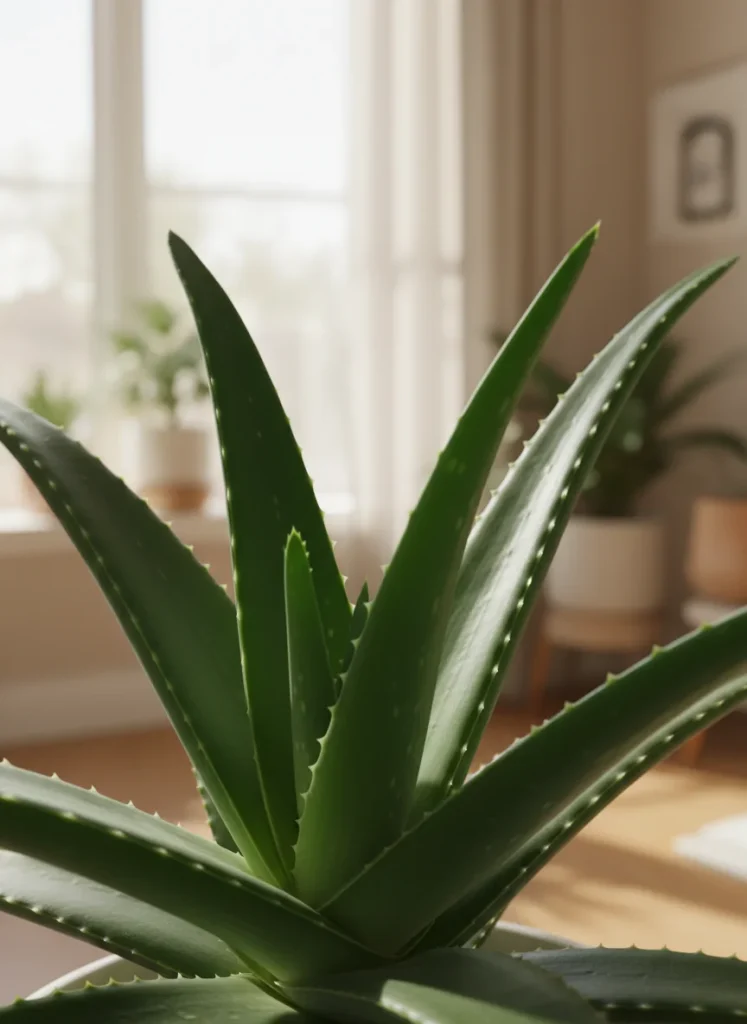
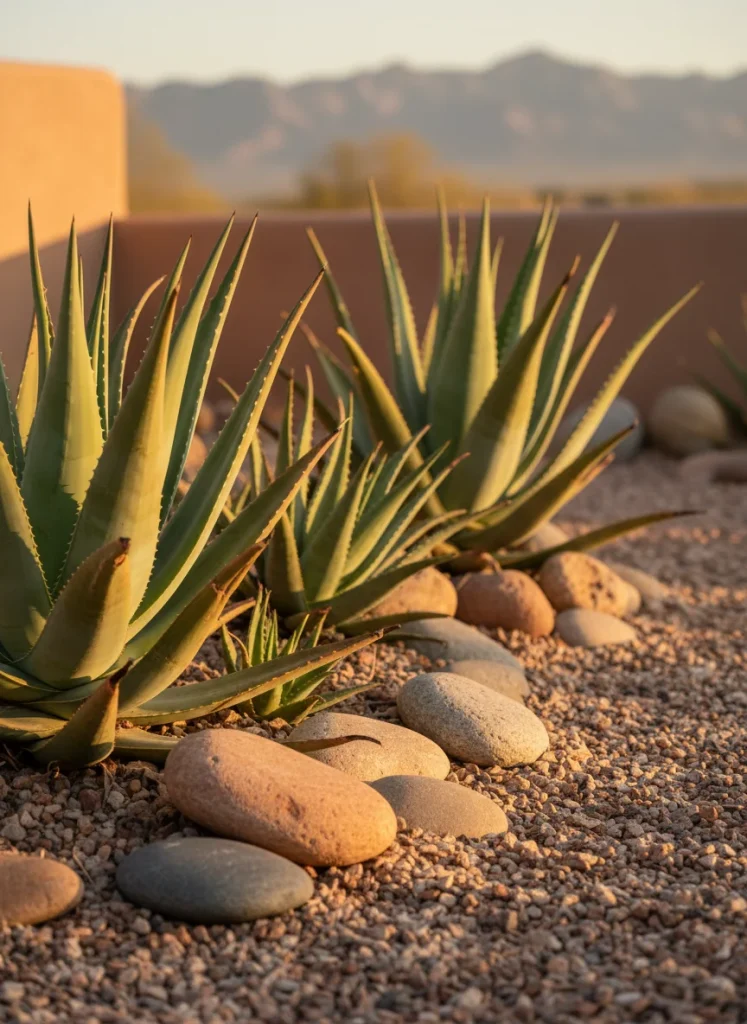
Aloe vera is often the first plant a new gardener brings home. It sits on windowsills across the world, looking sculptural and green. But treating this botanical powerhouse like a plastic decoration is a mistake. This plant is a living pharmacy and a survivor that has adapted to harsh environments for centuries. To grow it successfully, you must understand the biology behind its thick leaves and shallow root system.
Many people assume succulents are indestructible. Here is the reality of keeping Aloe vera alive: kindness kills. Excessive attention, particularly with the watering can, will turn this desert native into a pile of mush. Whether you are growing it for its architectural beauty or its medicinal gel, the secret lies in mimicking its natural habitat.
The Foundation: Soil and Potting Science
You cannot simply dig up dirt from the backyard and expect your Aloe to thrive. Garden soil is too dense. It holds moisture like a sponge, which is the exact opposite of what these roots require. Aloe vera roots need to breathe. If they sit in damp soil for too long, they will rot before you even notice the leaves changing color.
Boring, but essential. You need a potting mix specifically designed for cacti and succulents. If you want to mix your own, combine regular potting soil with equal parts perlite and coarse sand. This creates a porous structure that allows water to flow through instantly. When you water the plant, the water should exit the bottom of the pot almost immediately.
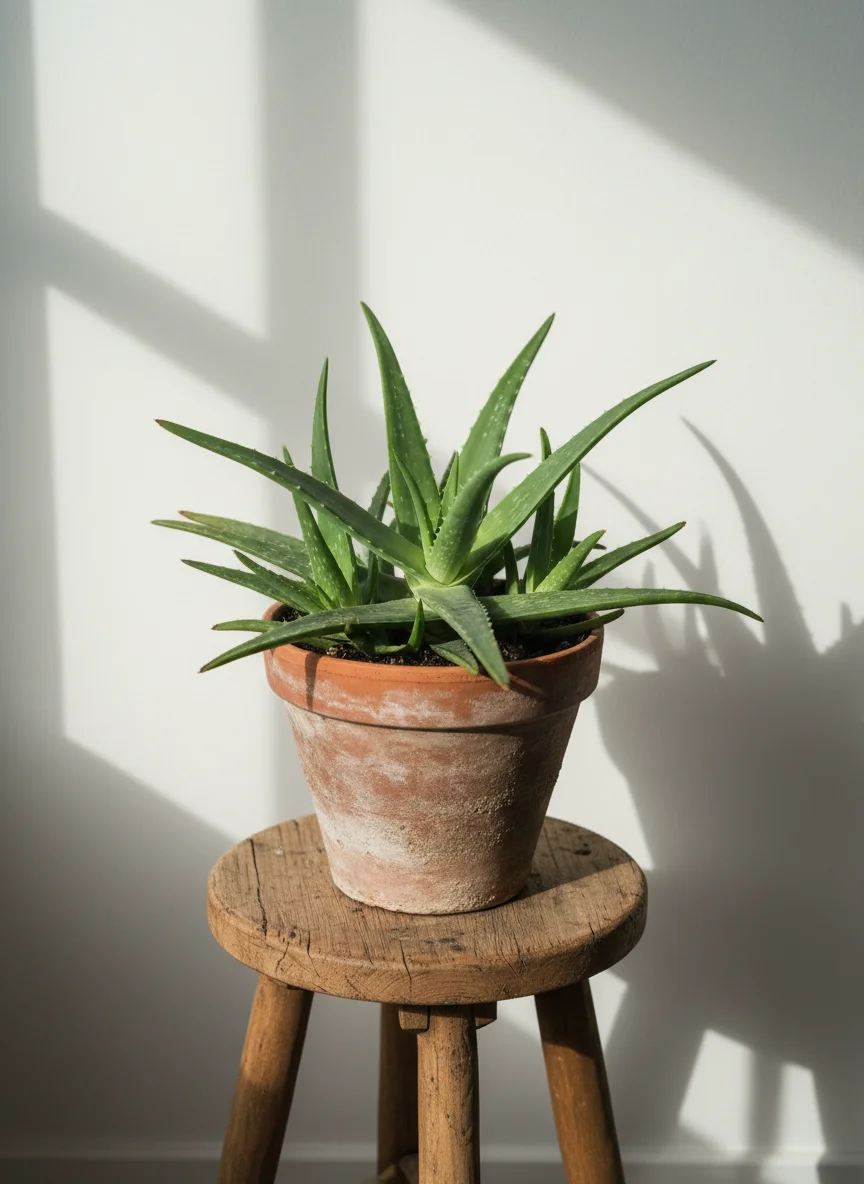
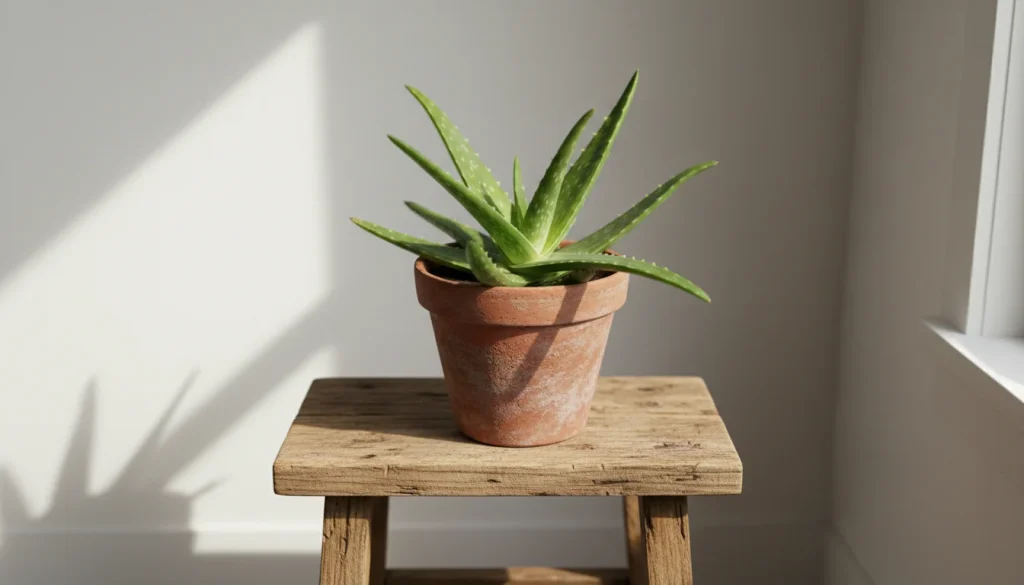
Speaking of the pot, drainage holes are nonnegotiable. Do not plant Aloe in a decorative bowl without holes. It will die. Period. A wide container is better than a deep one because the roots spread horizontally rather than digging down. Terra cotta is the superior material choice because the clay is porous, allowing moisture to evaporate through the walls of the pot itself.
Lighting: The Goldilocks Zone
Light is the fuel for your plant, but direct intensity matters. While Aloe vera is a desert plant, it can suffer from sunburn if moved too quickly from a dim corner to a blazing southern window. Indoors, it craves bright and indirect light. A spot near a south or west facing window is ideal, but keep it just out of the harsh midday rays if the plant is young.
If you see the leaves stretching out and becoming thin or pale, the plant is starving for light. Conversely, if the leaves develop brown or orange spots, it is getting scorched. You have to find that sweet spot where the plant looks perky and retains a deep green hue. The ideal temperature range is between 55 and 80 degrees Fahrenheit, which conveniently aligns with the average comfortable home environment.
The Art of Watering
Let’s be honest. You are probably watering your plants too much. We water plants because it makes us feel like good caregivers, not because the plant actually needs it. Aloe vera stores water in its leaves, which is why they are so thick and fleshy. They are designed to withstand drought.
The rule is simple: ignore the calendar. Do not water every Monday. Water only when the soil is completely dry. Stick your finger into the soil up to the second knuckle. If you feel any moisture at all, walk away. In most indoor environments, this means watering once every three weeks. In the winter, the plant goes dormant and needs even less water. You might only water it once every month or two during the colder season.
When you do water, use the “soak and dry” method. Pour water until it runs freely out of the drainage holes. This ensures the entire root ball receives moisture. Then, let it dry out fully. Never leave water sitting in the saucer underneath the pot. Standing water causes root rot, which is fungal and fatal.
Moving Outdoors
If you live in Zone 9 or higher, you can grow Aloe vera outdoors year round. For everyone else, it is a summer vacation plant. This is often overlooked, but you cannot just carry your indoor plant outside and leave it in the sun. It will go into shock.
You must harden off the plant. Place it in a full shade spot for a few days, then gradually move it into partial sun over the course of a week. This allows the cellular structure of the leaves to thicken and adapt to the UV intensity. If you plant it in the ground, ensure the location is free draining. A raised bed is often the best choice to prevent waterlogging during rainstorms. Just remember that while Aloe loves heat, it has zero tolerance for frost. If the forecast predicts freezing temperatures, bring the pots inside or cover ground plants with frost cloth. The leaves are mostly water, meaning they will freeze and burst just like a soda can in a freezer.
Propagation: Endless Free Plants
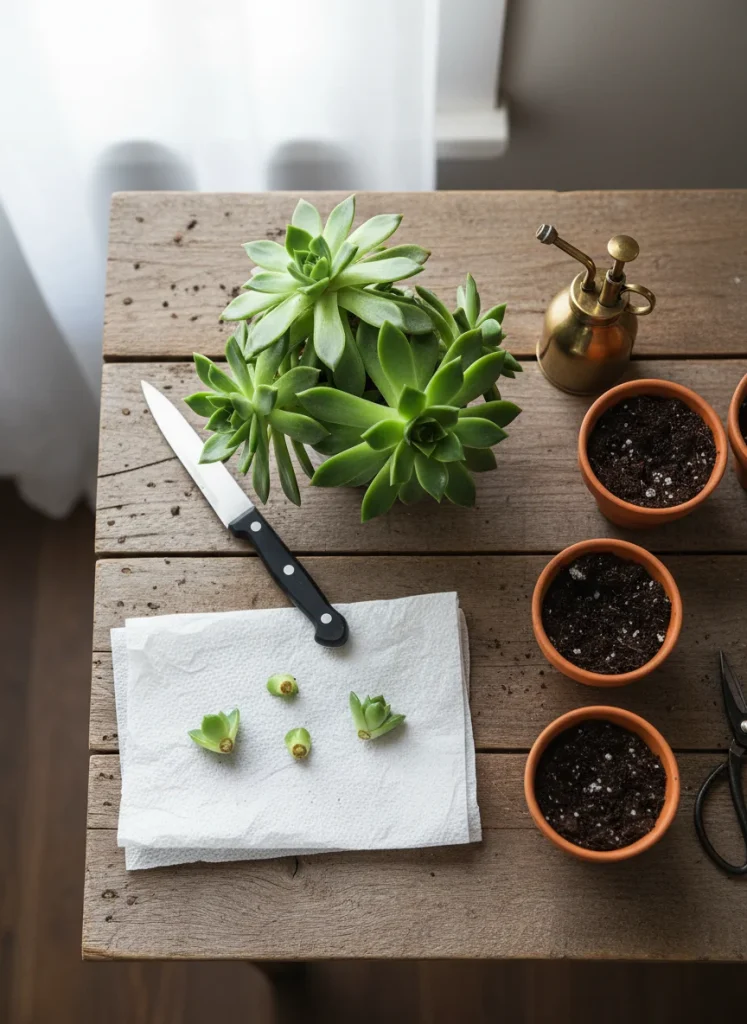
A happy Aloe vera will eventually produce babies. These are technically called offsets, but gardeners affectionately call them “pups.” They appear at the base of the mother plant, emerging from the soil like miniature versions of the parent. Separating these pups is the easiest way to expand your garden or make gifts for friends.
Wait until the pup is a reasonable size, usually a few inches tall. Remove the entire plant from its pot to see what you are doing. Gently brush away the soil to expose the connection point. You will need a sharp, sterile knife to sever the pup from the mother plant. Ensure the pup has some roots attached to it.
Here is the critical step most beginners miss: do not plant it immediately. You must let the cut end callus over. Leave the pup in a dry, shaded spot for two days. This forms a scab over the wound, preventing bacteria from entering the raw tissue. Once the callus forms, plant it in a small pot with dry succulent mix. Do not water it for a week. The roots need to seek out moisture, and keeping the soil dry encourages them to grow. After a week, give it a light drink.
Harvesting and Uses
The gel inside the leaves is the prize. It is rich in vitamins, enzymes, and amino acids. To harvest, choose a mature leaf from the outer ring of the plant. These are the oldest and most potent leaves. Cut the leaf close to the stem.
Place the cut leaf upright in a glass for about fifteen minutes. You will see a yellow substance drain out. This is aloin, or latex, which can be irritating to the skin and is a strong laxative if ingested. Let it drain away. Once drained, wash the leaf and slice off the serrated edges. Fillet the skin away from the top to reveal the clear, jiggly slab of gel.
You can apply this fresh gel directly to sunburns or minor cuts. It cools the skin and accelerates cellular repair. For a hair treatment, blend the gel with water and essential oils to create a hydrating mask. Some people consume the juice as a health tonic to aid digestion and reduce inflammation, but you must be careful to remove all the yellow latex first.
Note on Safety: While the gel is medicinal, the skin of the plant can be toxic to humans and pets if eaten in large quantities. Keep the plant out of reach of curious cats and dogs. The leaves are soft to the touch, lacking the dangerous spines of cacti, but they are still not meant to be a snack for your fur babies.
Troubleshooting Your Plant
Plants communicate through their appearance. If the leaves are drooping or lying flat, the plant might be top heavy or not getting enough light to support its own structure. You can trim the outer leaves to balance the weight. If the leaves look wrinkled or shriveled, the plant is thirsty. If the leaves are yellowing and turning mushy, you are overwatering. Stop immediately.
Gardening with Aloe vera is a lesson in restraint. Give it porous soil, plenty of light, and very little water. In return, it will purify your air, heal your skin, and add a touch of wild nature to your home.
Read More
The One Vegetable Every Gardener Should Grow (A Complete Guide)