Best Soil for Container Vegetables: What I Use and Why
Meta Description:
Disclosure: This article contains affiliate links. As an Amazon Associate, we earn from qualifying purchases at no extra cost to you. We only recommend products we would use ourselves.
The single most common reason container vegetable gardens underperform is the soil. Not the variety, not the watering schedule, not the location. The soil.
I learned this the hard way in my second season of container growing. Tomatoes that barely reached knee height. Peppers that sat in their pots doing nothing for six weeks. A zucchini that produced two fruits before giving up entirely. The plants were fine. The soil was wrong.
Getting the growing medium right in a container is more important than it is in the ground because there is no surrounding soil ecosystem to compensate for your mistakes. What you put in the pot is all the plant has. This guide covers what actually works, what to avoid, and exactly what I put in my containers today.
Why Container Soil Is Nothing Like Garden Soil
Garden soil is designed for the ground. It is dense, mineral-rich, and relies on a vast surrounding ecosystem of microbes, worms, and organic matter to stay functional. In a container, that same soil compacts hard within a few weeks, drains poorly, heats up unevenly, and suffocates roots.

The root zone in a container is a closed environment. Water and air cannot move in from surrounding soil. Roots hit the walls of the pot and have nowhere else to go. This means the growing medium inside the container needs to do everything: hold enough moisture so the plant does not dry out between waterings, drain fast enough so roots never sit in water, stay loose enough that oxygen reaches the root zone, and provide nutrients without becoming too concentrated.
A quality potting mix is engineered for exactly these conditions. Garden soil is not. This is not a matter of opinion. It is just what the physics of a container requires.
The Three Things Every Container Soil Must Do Well
Before looking at specific products or recipes, it helps to understand what you are actually evaluating. Good container soil for vegetables needs to do three things consistently.
Hold moisture without waterlogging. Roots need consistent moisture, but sitting in saturated soil destroys them. The ideal mix holds water like a wrung-out sponge. Damp throughout, but never wet.
Drain freely. When you water a container, excess water should move through and out of the drainage holes within a minute or two. If it pools on the surface or takes a long time to drain, the mix is too dense.
Stay loose over time. Many potting mixes perform well in spring and break down into a dense, compacted mass by midsummer. A good mix maintains its structure through the whole growing season.
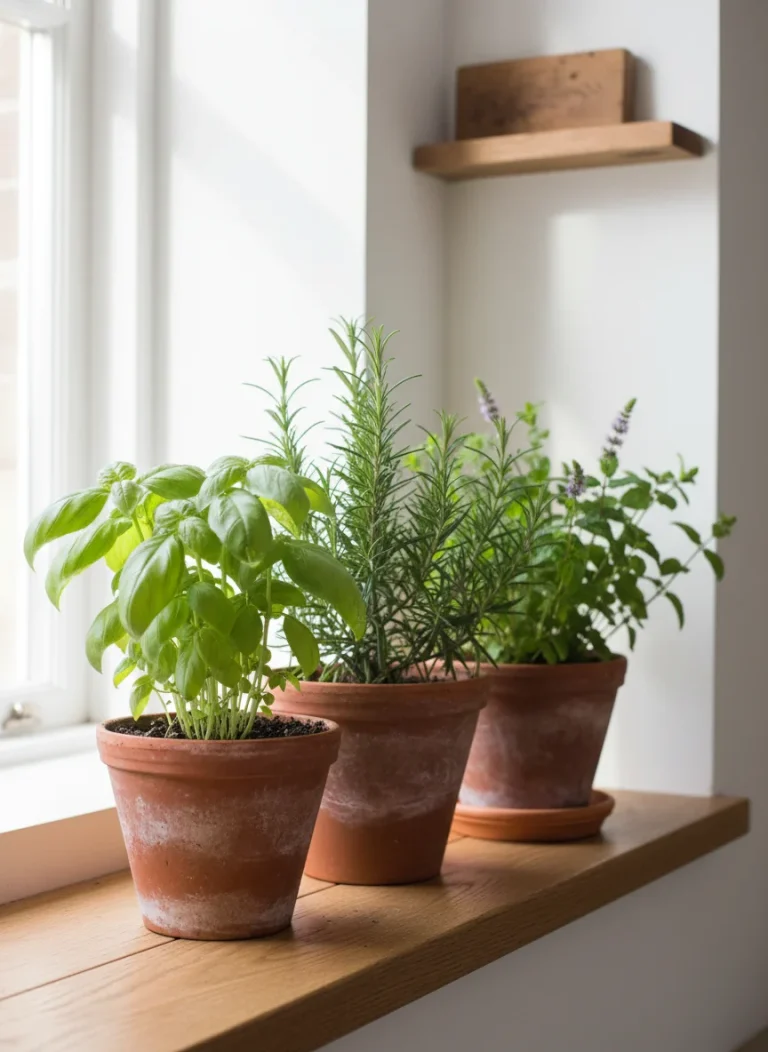
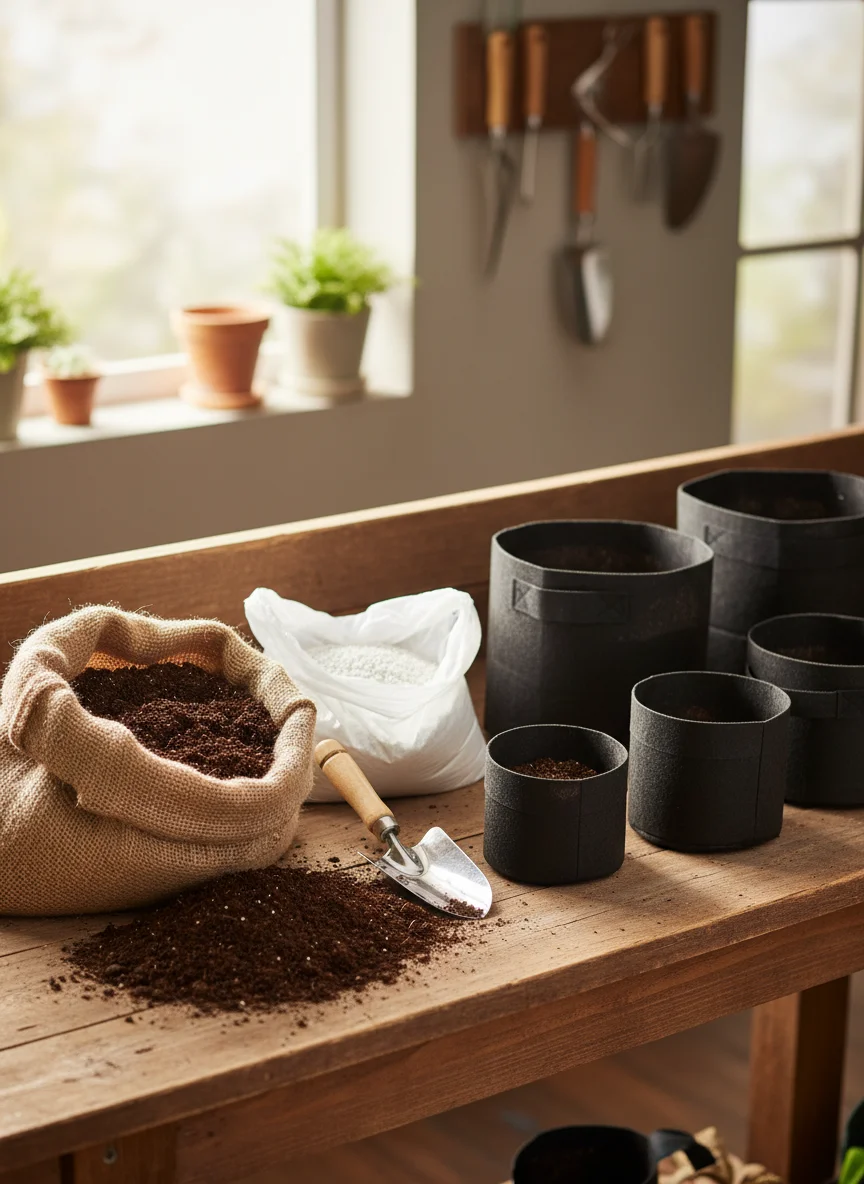
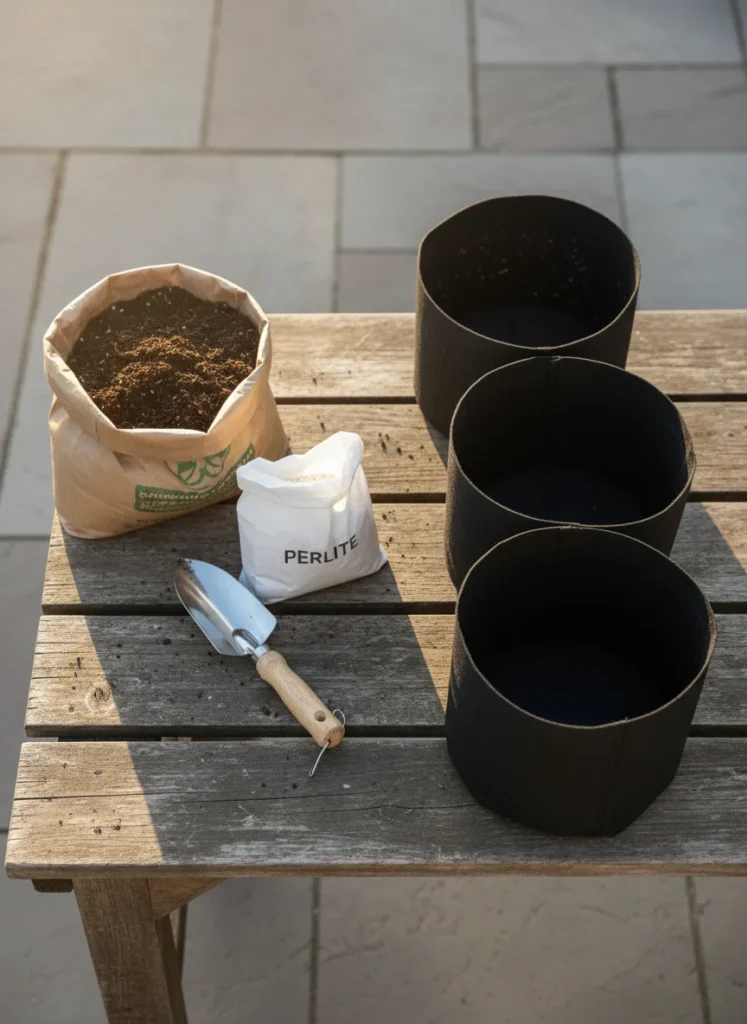
What I Actually Use: My Container Soil Setup
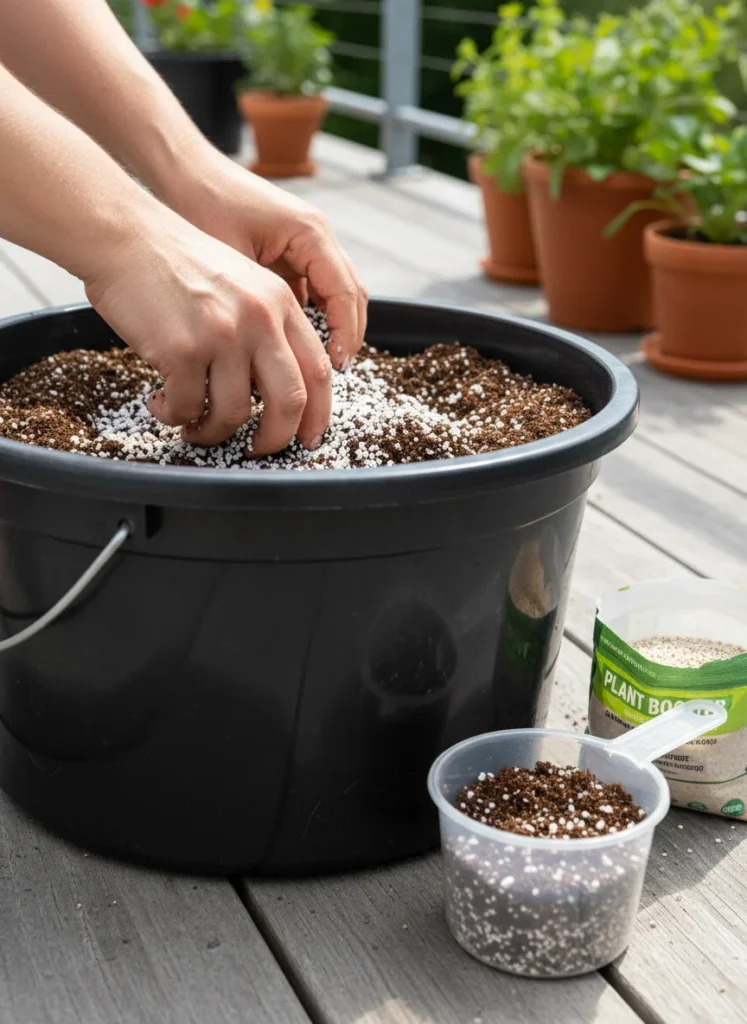
My base mix for all container vegetables is a quality all-purpose potting mix amended with perlite. That is it. No complicated recipes, no expensive specialty products.
The ratio I use is roughly four parts potting mix to one part perlite by volume. For a five-gallon container, that works out to about one cup of perlite mixed through the potting mix before planting.
Perlite is a volcanic mineral that looks like small white beads. It adds air pockets to the mix, dramatically improves drainage, and prevents compaction over a long growing season. Without it, even good quality potting mix tends to compress and slow drainage by midsummer. Perlite is inexpensive, widely available, and makes a noticeable difference to plant performance.
I also add a slow-release granular fertilizer mixed into the soil at planting. This handles the first four to six weeks of feeding without any additional effort. The specific ratio and product matters here, which I cover in the fertilizer section below.
The Best Potting Mixes for Container Vegetables
Not all potting mixes are equal. I have used a lot of them over the years, and the differences in plant performance are real and visible.
FoxFarm Ocean Forest
This is the mix I recommend most often to other container gardeners. It contains aged forest products, sphagnum peat moss, earthworm castings, bat guano, and sea-going fish and crab meal. It comes with more built-in nutrition than most standard mixes, which means plants establish faster and require less supplemental feeding early on.
The texture is light and well-draining straight from the bag. I still add perlite at roughly 10 to 15 percent volume with this mix rather than the full 20 percent, because it already drains better than average. It runs slightly more expensive than standard mixes but the performance justifies the cost for any crop you care about getting right.
Check FoxFarm Ocean Forest on Amazon
Espoma Organic Potting Mix
A strong option for gardeners who want fully organic ingredients with good verifiable sourcing. Espoma contains sphagnum peat moss, humus, perlite, earthworm castings, alfalfa meal, kelp meal, and feather meal. Their proprietary mycorrhizal blend called Myco-tone promotes root development and helps plants absorb nutrients more efficiently in the confined root space of a container.
It performs particularly well for tomatoes, peppers, and leafy greens. The nutrient profile is well-suited to vegetable crops specifically rather than being a general all-purpose mix.
Check Espoma Organic on Amazon
Burpee Premium Organic Potting Mix
The best budget-friendly option on this list. Burpee uses coconut coir as its primary moisture retention ingredient rather than peat moss, which makes it a more sustainable choice and also means it holds moisture slightly more evenly than peat-based mixes. It is OMRI listed, comes with a guarantee, and performs reliably across a range of vegetable crops.
For gardeners filling multiple large containers or grow bags each season, the cost difference between Burpee and the premium options above is worth considering. The performance gap is smaller than the price gap.
Check Burpee Organic Potting Mix on Amazon
Should You Mix Your Own Soil?
DIY potting mix is worth considering if you are filling a large number of containers each season and the cost of bagged mix adds up quickly. The standard recipe I come back to is straightforward.
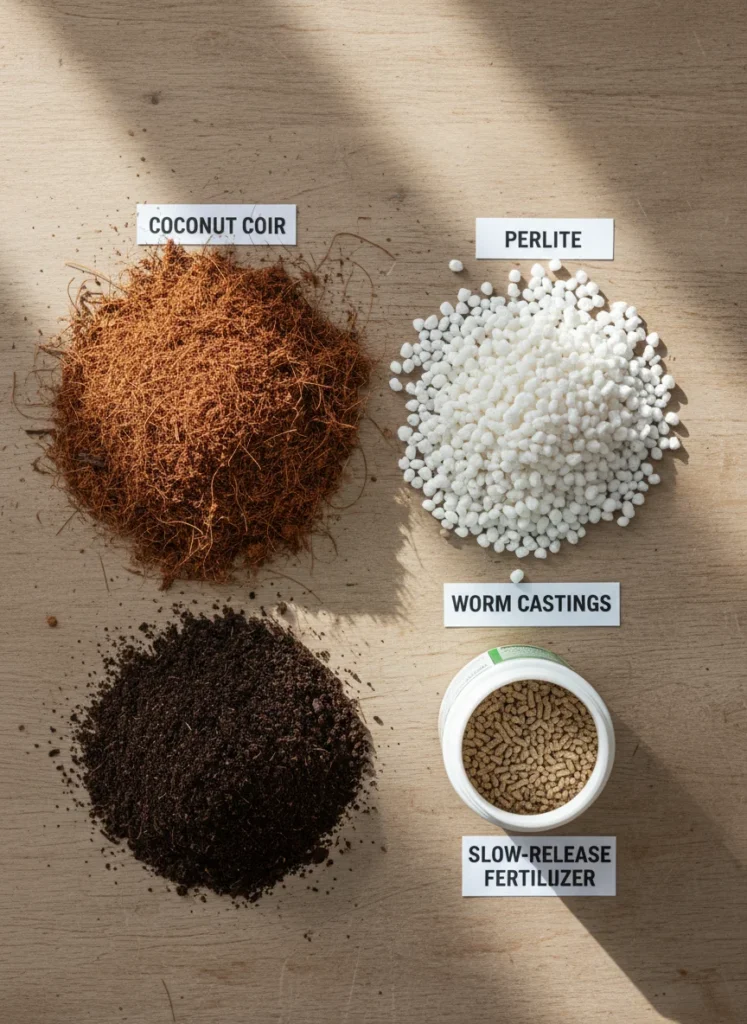
Basic DIY Container Mix:
- 40 percent coconut coir
- 30 percent compost or worm castings
- 20 percent perlite
- 10 percent aged bark fines
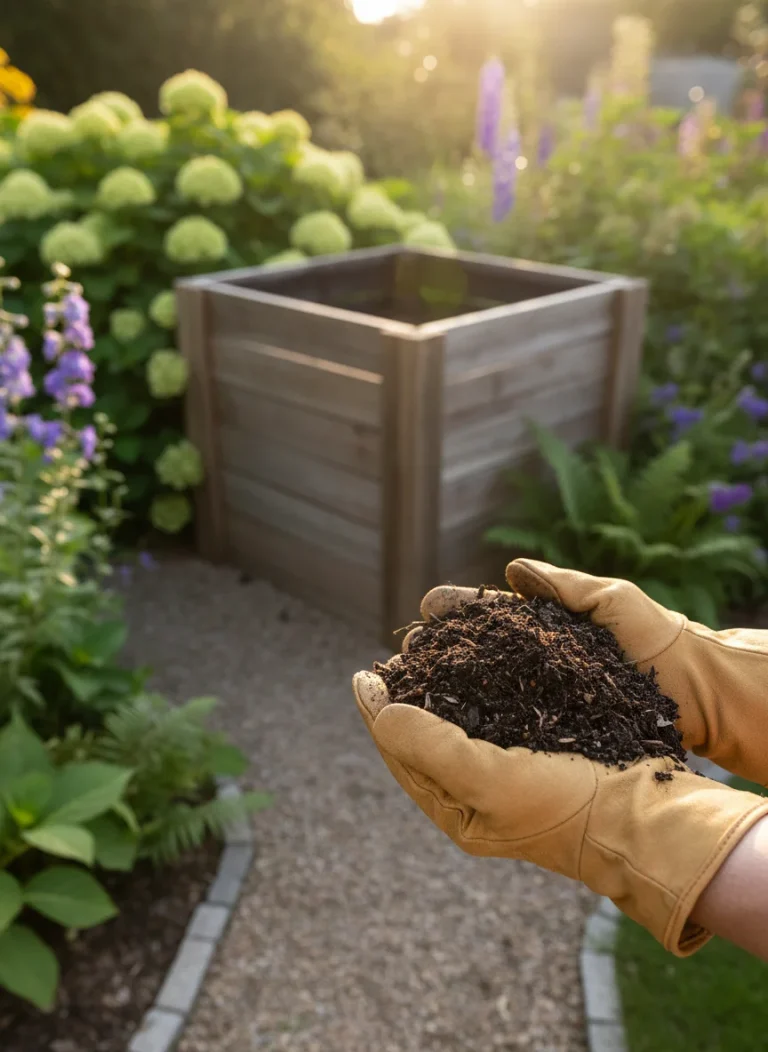
Coconut coir holds moisture evenly without compacting the way peat moss does over time. It is also a renewable byproduct of coconut processing rather than being harvested from carbon-storing peat bogs, which matters to a lot of growers. Worm castings add slow-release nutrition and beneficial microbial life. Perlite handles drainage and aeration. Bark fines add structure and prevent the mix from becoming too dense.
Add a slow-release granular vegetable fertilizer to this mix at the rate recommended on the package for the container size you are filling. This gives you a complete, affordable growing medium that outperforms many bagged products.
Check coconut coir blocks on Amazon. Check worm castings on Amazon
The Fertilizer Layer: What Goes In at Planting
The soil mix handles structure and short-term nutrition. A slow-release fertilizer handles the medium-term nutrition gap so you are not constantly chasing the plant with liquid feeds from week one.
Osmocote Smart-Release Vegetable and Bedding Plant Food is the slow-release fertilizer I use most consistently. It releases nutrients in response to soil temperature and moisture rather than all at once, which means the plant gets fed as it grows rather than receiving a flood of nutrition it cannot use. One application at planting lasts through the first six to eight weeks without any additional feeding required.
Check Osmocote slow-release fertilizer on Amazon
Mix the granules into the bottom two thirds of the container rather than just the surface layer. Roots grow down toward the fertilizer this way, which encourages deeper root development and a more stable plant overall.
What to Avoid in Container Soil
A few things that show up in potting mixes and container gardening advice that consistently cause problems.
Garden soil or topsoil in containers. Already covered above, but worth repeating. It compacts, drains poorly, and introduces weed seeds and soil pathogens into a closed environment. Never use it in containers regardless of how good it looks.
Mixes with large chunks of uncomposted wood. Some budget potting mixes contain large pieces of bark or wood that have not fully composted. These pieces tie up nitrogen as they continue decomposing in the container, causing the nitrogen deficiency symptoms that look identical to underfeeding.
Sand as a drainage amendment. Coarse sand can improve drainage in large volumes but the fine play sand or builder sand that most people add to pots actually makes drainage worse. Fine sand particles fill the air pockets between potting mix particles and create a denser, more compacted medium. Use perlite instead.
Reusing old potting mix without amendment. Potting mix loses structure and nutrition over a growing season. Reusing it straight the following year gives plants a poor start. Mix old potting mix 50:50 with fresh mix and add a new round of slow-release fertilizer to refresh it cost-effectively.
Matching Soil Depth to Your Crops
Container size and depth affect which crops perform well as much as the soil mix itself. Different vegetables need different root depths to produce properly.
Small crops including lettuce, herbs, radishes, and green onions grow well in containers as shallow as six to eight inches. These are the easiest crops for container growing and the most forgiving of imperfect soil mixes.
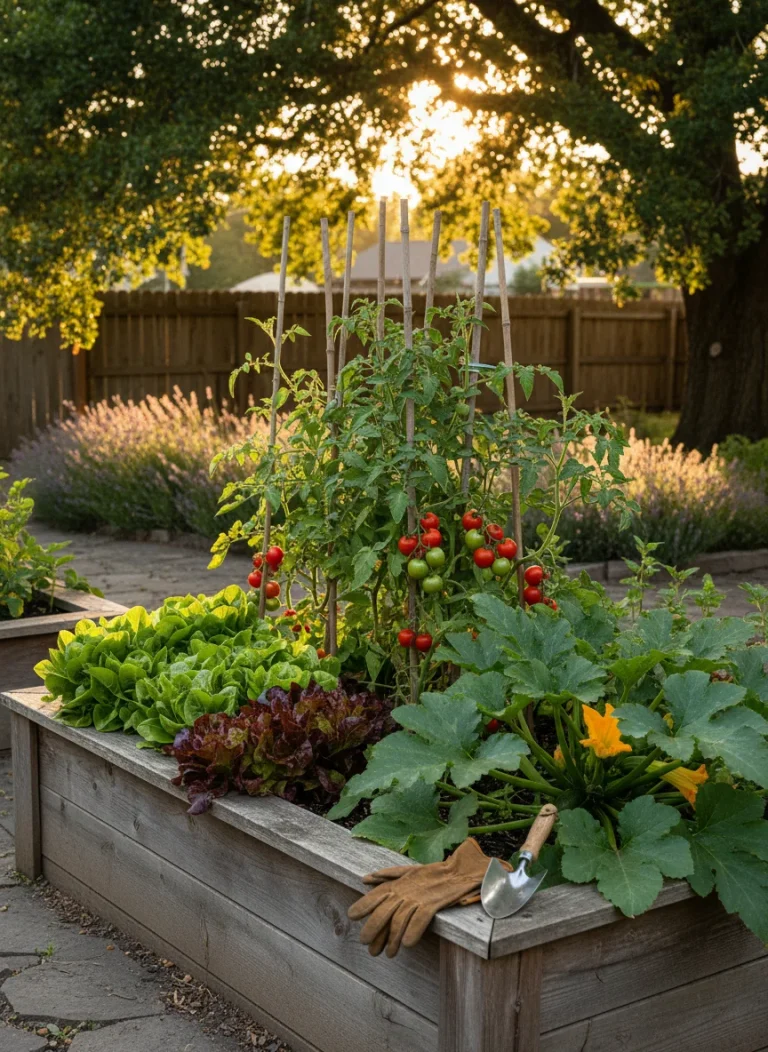
Medium crops including bush beans, kale, chard, and most compact pepper varieties need ten to twelve inches of depth for reliable production. A standard five-gallon container sits at roughly twelve inches deep, which makes it the right size for these crops.
Large crops including tomatoes, full-sized peppers, cucumbers, and eggplant need at least fourteen to sixteen inches of depth for the root system to develop properly. A seven-gallon or larger container is the minimum for these crops. Going too small produces the stunted, low-yield plants that give container vegetable growing an undeserved bad reputation.
For everything about container sizing, soil preparation, and care specific to peppers, our guide on how to grow peppers in containers covers the full picture from planting to harvest.
Refreshing and Reusing Container Soil
Good potting mix is not cheap, and throwing out an entire container’s worth at the end of every season is genuinely wasteful. Here is how to extend its useful life without compromising plant performance.
At the end of the growing season, remove all plant material including roots. Check for visible pests or signs of disease before deciding whether to reuse the mix. If root rot was a problem during the season, discard that mix rather than risk spreading the pathogen to next year’s plants.
For clean mix, store it in a sealed container over winter to prevent weed seeds from getting in. The following spring, combine old mix at roughly 50:50 with fresh potting mix. Add a new round of slow-release fertilizer at the rate recommended for the container size. The refreshed mix performs almost as well as entirely new soil at a fraction of the cost.
Top-dressing containers with a half-inch layer of worm castings at the start of each season also improves soil biology and adds slow-release nutrition without full replacement.
Frequently Asked Questions
Can I use Miracle-Gro potting mix for vegetables? Yes. Miracle-Gro potting mix is one of the most widely used and reviewed products available and it performs well for vegetable containers. The main consideration is that it contains synthetic slow-release fertilizer, which some organic gardeners prefer to avoid. For organic growing, Espoma or Burpee Organic are better-suited alternatives.
How often should I replace container soil? A full replacement every two to three years is reasonable with proper refreshing in between. Each season, mixing the old soil 50:50 with fresh mix and adding new fertilizer maintains performance without full replacement cost. Discard and replace immediately if you had root rot or significant disease pressure during the season.
Is perlite safe for growing food? Yes. Perlite is a naturally occurring volcanic mineral with no known toxicity to plants, humans, or animals. It does not break down or release anything into the soil. It simply creates air pockets and improves drainage.
What pH should container soil be for vegetables? Most vegetables grow best in a slightly acidic to neutral pH range of 6.0 to 7.0. Most quality potting mixes are formulated within this range and do not need adjustment. If you mix your own soil, adding a small amount of dolomitic limestone helps buffer the pH of coconut coir or peat-based mixes toward the neutral range.
Does container soil need to be sterile? It does not need to be completely sterile, but it should not contain weed seeds or known soil pathogens. Commercial potting mixes are generally pasteurized during production. Garden soil is not, which is another reason it performs poorly in containers. Worm castings and compost add beneficial microbial life without introducing the weed seeds and pathogens that raw garden soil carries.
The Short Version
Use a quality potting mix, not garden soil. Amend it with perlite at 15 to 20 percent by volume. Add a slow-release granular fertilizer at planting. Match your container depth to the crop. Refresh rather than replace at the start of each new season.
That combination handles the vast majority of container vegetable soil problems before they start. Get the growing medium right and everything else in the container becomes significantly easier to manage.
For more on keeping container vegetables healthy through the season, including pest management with organic products that are safe to use on food crops, see our full guide to the 7 Best Organic Pesticides for Vegetable Gardens (Safe & Effective).