How Long Does Garlic Take to Grow? The Complete Timeline Guide
Understanding the Garlic Growth Cycle
Gardening requires patience. Few crops teach this lesson as well as garlic. If you are looking for instant gratification, this might not be the vegetable for you. However, if you want a crop that requires very little effort once it is in the ground, garlic is the perfect choice. It is a slow burn that pays off with incredible flavor.
Here is the reality of growing garlic. It generally takes between six and nine months to go from a single planted clove to a mature, harvestable bulb. In days, you are looking at a range of 180 to 270 days. This might sound like a lifetime in the gardening world. Yet, most of this time is passive. You do not have to hover over the plants every day.
The vast majority of successful garlic harvests begin in the fall. While you can plant in the spring, fall planting is the gold standard. Period. We will explore why this specific timing matters and break down exactly what happens during those long months underground.
Save this pin to your Pinterest gardening board to easily find it later
The Importance of the Winter Chill
You might wonder why a vegetable needs to sit in the dirt through the freezing winter. This process is biological necessity rather than just tradition. Garlic requires a period of cold temperatures to develop properly. This process is known as vernalization.
Think of the cold as a signal. When you plant a clove in October or November, it senses the dropping temperatures. This chill tells the clove to split into multiple sections. If garlic does not get this cold period, you often end up with a single, large round bulb that looks like an onion. It will not separate into the distinct cloves you are used to seeing in the grocery store. This is why we plant before the frost sets in.
The Growth Timeline: Month by Month
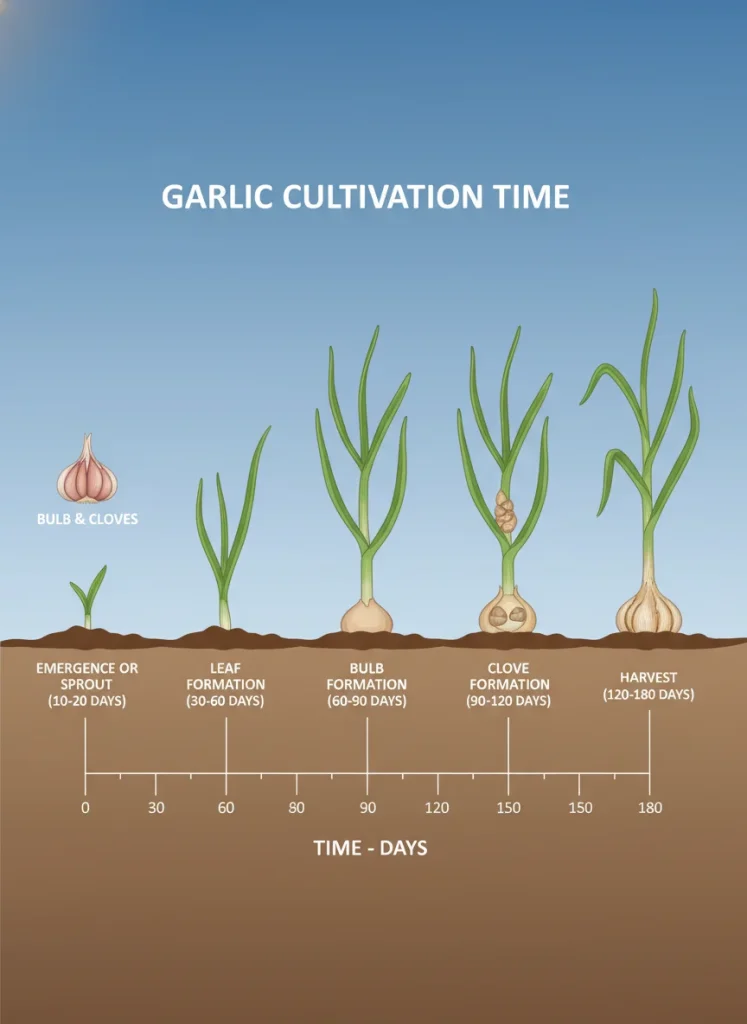
To truly master garlic growing, you need to understand the lifecycle. We can break this nine-month marathon into distinctive phases. Each phase requires a slightly different approach from you.
Phase 1: Planting and Root Establishment (October – November)
This is where the clock starts. In colder climates like zones 3 through 5, you aim for October. In warmer zones like 8 or 9, you might wait until November or even December. The goal is to get the clove into the ground before the soil freezes solid.
During these first four to six weeks, you will not see anything happening above the surface. It looks like bare soil. Underneath, the garlic is working hard. The clove is sending out roots to anchor itself. It is establishing a system to pull nutrients from the soil later on. You want root growth before winter, but you do not necessarily want green shoots breaking the surface yet. If shoots come up too early, they can be damaged by harsh winter winds.
Phase 2: Winter Dormancy (December – February)
Boring, but essential. That is the best way to describe this phase. Once the deep cold sets in, the garlic goes dormant. It stops active growth and simply rests. If you live in a very cold area, a layer of straw mulch helps regulate the soil temperature. This keeps the garlic safe from heaving out of the ground during thaw cycles.
Your job during this time is to do absolutely nothing. Let nature take its course. The garlic is enduring the cold it needs to trigger bulb formation later.
Phase 3: The Spring Awakening (March – April)
As the days get longer and the ground thaws, the magic happens. You will see green shoots poking through the mulch or soil. This is the signal that dormancy is over.
This is often overlooked, but early spring is the critical time for nutrition. Garlic is a heavy feeder. It needs nitrogen to grow those big, leafy green stalks. The size of the bulb eventually depends on the size of the greens. More leaves equal more energy to store in the bulb. You should apply a nitrogen-rich fertilizer when you see the shoots reach about six inches tall.
Phase 4: Rapid Growth and Scapes (May – June)
By late spring, your garlic should be tall and robust. This is the period of most rapid growth. Water is crucial here. If the soil dries out completely, the bulbs will stop growing. Keep the soil consistently moist but not soggy.
If you are growing hardneck varieties, you will see a curly, flower-like stalk emerge from the center of the plant. This is called a scape. The plant wants to use its energy to make seeds in that flower. We do not want that. We want the energy to go down into the bulb. You must snap or cut these scapes off. They are delicious and taste like mild garlic, so use them in your cooking.
Phase 5: Bulbing and Drying Down (July)
This is the final stretch. The days are hot and long. The garlic stops growing new leaves and focuses entirely on swelling the bulb underground. This is when the magic happens beneath the surface.
Let’s be honest. It is tempting to keep watering to make the bulbs huge. However, you must stop watering two to three weeks before you plan to harvest. This usually happens in early July. If you water right up until harvest, the wrappers around the bulb can rot. You need the bulb to dry out slightly in the ground to ensure it cures well and lasts in your pantry.
Hardneck vs. Softneck: Timing Differences
Not all garlic is created equal. The type you plant affects your calendar slightly.
- Hardneck Garlic: These are the varieties that produce the scapes we mentioned earlier. They are incredibly flavorful and peel easily. They generally mature a bit faster, often ready in about seven to eight months.
- Softneck Garlic: These are the types you usually find in supermarkets. They do not produce a hard center stalk, which makes them perfect for braiding. They typically take a little longer to mature, often needing the full nine months. They are also more heat tolerant, making them a better choice for warmer climates.
The Spring Planting Alternative
Can you plant garlic in the spring? Yes. Should you? That depends on your expectations. If you missed the fall window, spring planting is better than nothing.
However, spring-planted garlic has a much shorter growing season. It only gets about five or six months in the ground. Because it lacks the long cold period and the extensive root development time, the bulbs will be significantly smaller. You might get single rounds rather than cloved bulbs. It works for green garlic or small bulbs, but fall planting remains the superior method for size and quality.
Knowing When to Harvest
The most common mistake new growers make is harvesting too late. They wait until the entire plant looks dead and brown. By then, the protective paper skins around the bulb have likely rotted away. This causes the cloves to separate and spoil quickly.
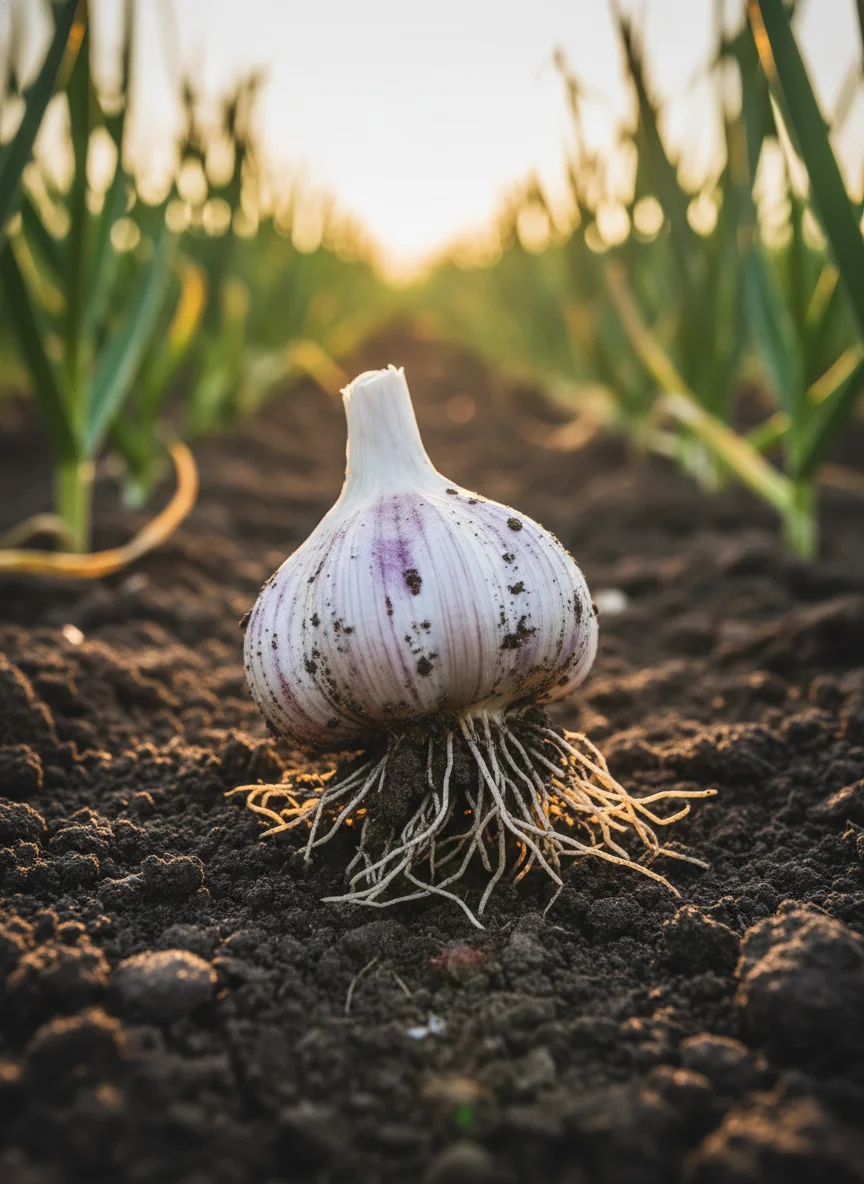
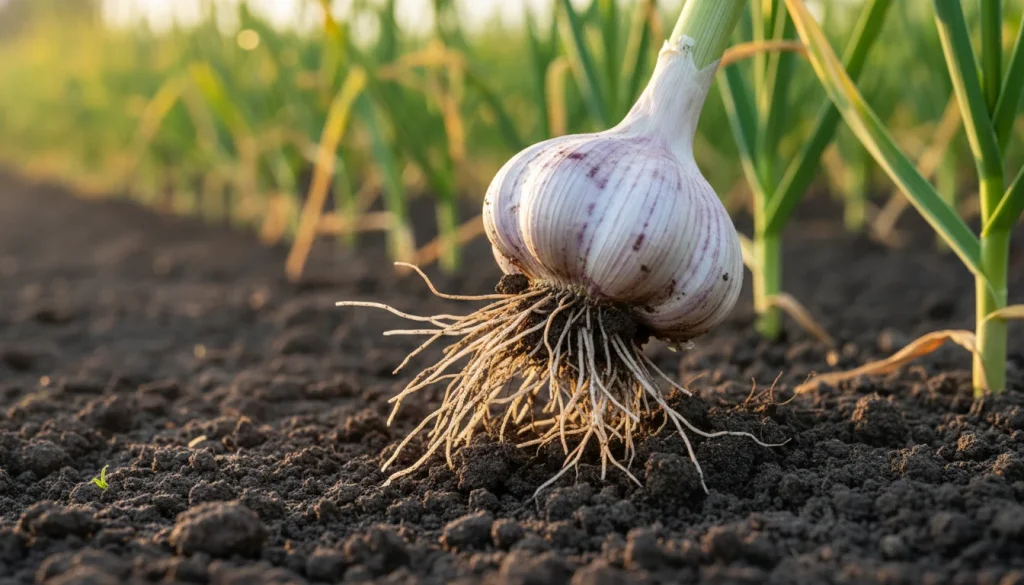
You need to watch the leaves. The plant matures from the bottom up. The lower leaves will start to turn yellow and brown while the top leaves remain green. You should harvest when roughly one-third to one-half of the leaves are brown. At this stage, the bulb is fully formed, but the wrapper skins are still intact and strong.
Conclusion
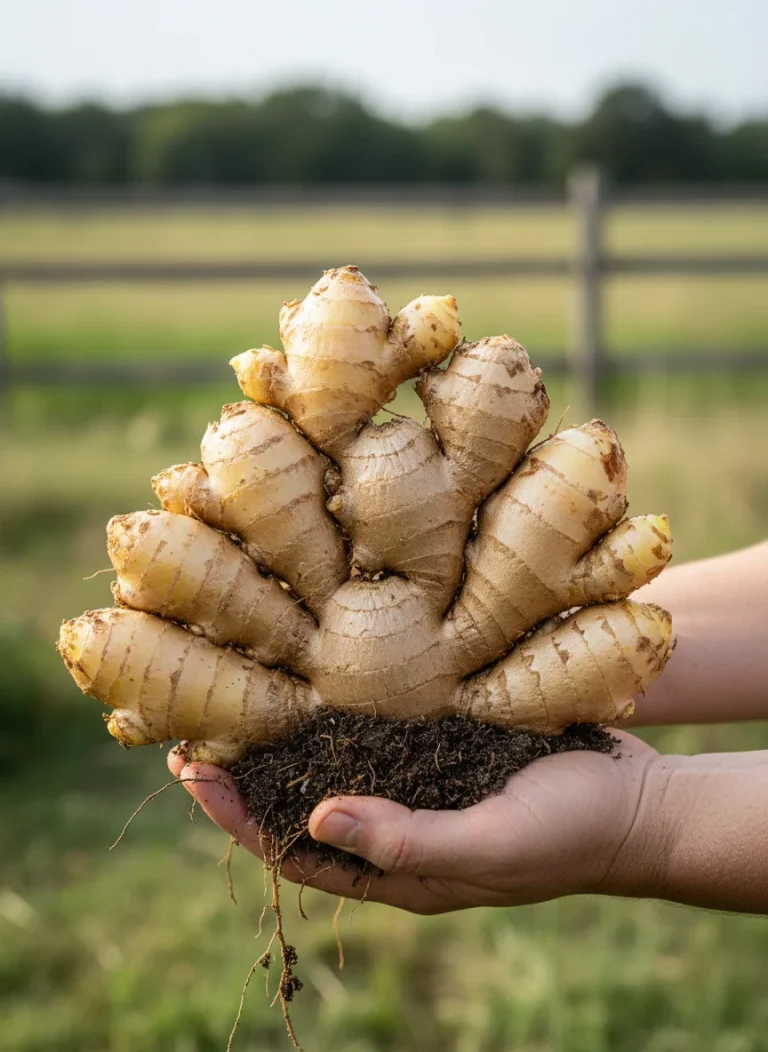
Growing garlic is a lesson in trusting the process. You bury a clove in the cold mud of November, trust it to survive the snow, and wait for the sun of July to reveal the reward. It takes time. It takes nearly three-quarters of a year. But when you pull that fresh, pungent bulb from the soil, you will understand why it was worth the wait.
Frequently Asked Questions
Does garlic need full sun?
Yes. Garlic thrives in full sun. It needs at least six to eight hours of direct sunlight per day to develop large bulbs. If you plant it in the shade, you will likely end up with very small bulbs and weak growth.
Can I plant garlic from the grocery store?
Technically, yes, but it is not recommended. Grocery store garlic is often treated with a growth inhibitor to stop it from sprouting on the shelf. It may also carry diseases that can infect your soil. It is always safer to buy seed garlic from a reputable nursery or supplier.
How do I cure garlic after harvest?
Do not wash the bulbs. Brush off the dirt gently. Hang the garlic in bundles or lay it out on a rack in a warm, dry, and airy place out of direct sunlight. Let it cure for about three to four weeks. Once the stems are completely dry and papery, you can trim the roots and stems for storage.
What happens if I harvest too early?
If you pull the garlic too early, the bulbs will be small and the cloves may not be fully separated. The skins will also be very thin and may not cure properly, leading to a shorter shelf life.
Read Next
10 Powerful Medicinal Herbs You Must Grow for a Complete Home Pharmacy