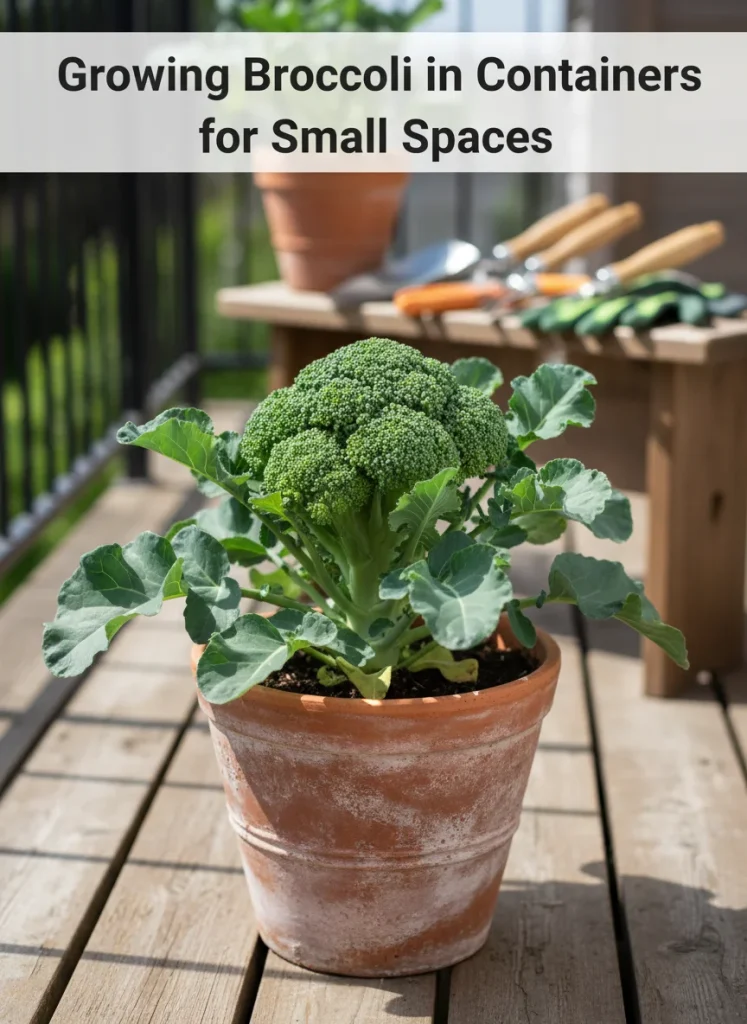
The Ultimate Guide to Growing Broccoli in Containers for Small Spaces

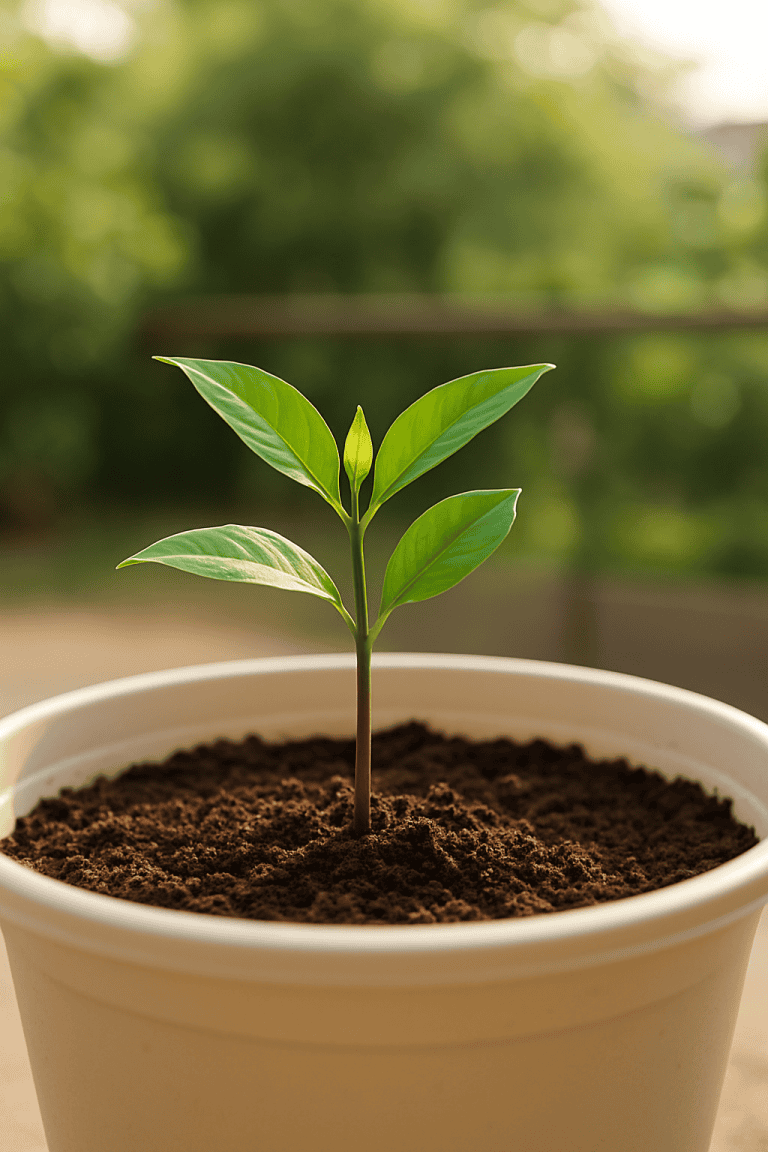
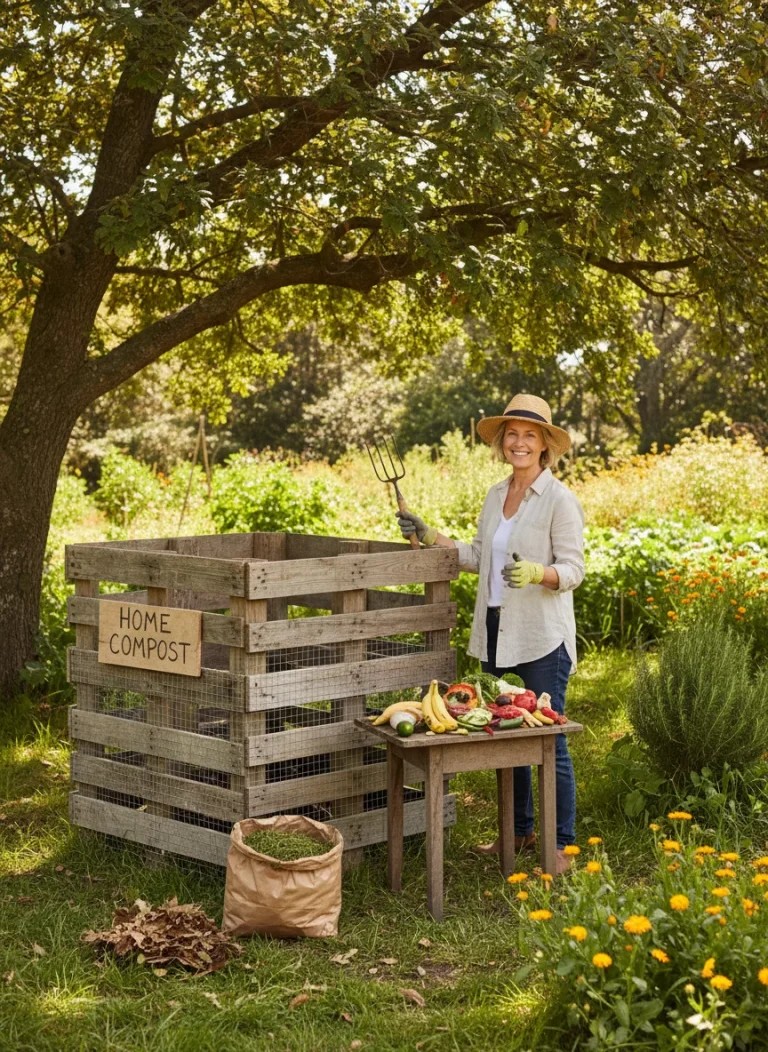
We often assume growing hearty vegetables requires a massive backyard or endless rows of tilled earth. That is simply not true. You can cultivate impressive, nutrient-dense crops right on your patio or balcony. One of the most rewarding vegetables to grow in a limited space is broccoli. It is sturdy, productive, and surprisingly adaptable to container life.
Growing broccoli in pots allows you to control the soil quality and move the plant to avoid harsh weather. It gives you a level of precision that ground gardening cannot match. However, this plant has specific needs. It is not a set-it-and-forget-it crop. You must understand its root system, its hunger for nutrients, and its sensitivity to heat.
This guide will walk you through the entire process. We will cover everything from selecting the right vessel to the final cut of the harvest. By following these steps, you will enjoy fresh, crisp broccoli straight from your own container garden this year.
Save this pin to your gardening board to easily find it later
1. Choosing the Right Container
Here is the reality of container gardening. Your plant is only as healthy as the space you give its roots. Many new gardeners make the mistake of choosing a pot that is too small. They see a small seedling and assume a small pot will suffice. This leads to stunted growth and disappointing harvests.
Size Matters
Broccoli has a substantial root system. It needs room to anchor itself and seek out moisture. You need to select a container that is at least 12 inches deep and 12 inches wide. In terms of volume, look for a pot that holds roughly 5 gallons of soil. This size is non-negotiable per single plant. If you try to squeeze a broccoli plant into a smaller space, it will bolt or produce a tiny, button-sized head.
Drainage is Critical
We need to talk about water. Broccoli loves moisture, but it hates sitting in a swamp. Your container must have multiple drainage holes at the bottom. If the pot only has one small hole, drill more. Without adequate drainage, the water accumulates at the bottom of the pot. This causes the roots to rot. Once root rot sets in, the plant is usually doomed. Ensure water can flow freely out of the base.
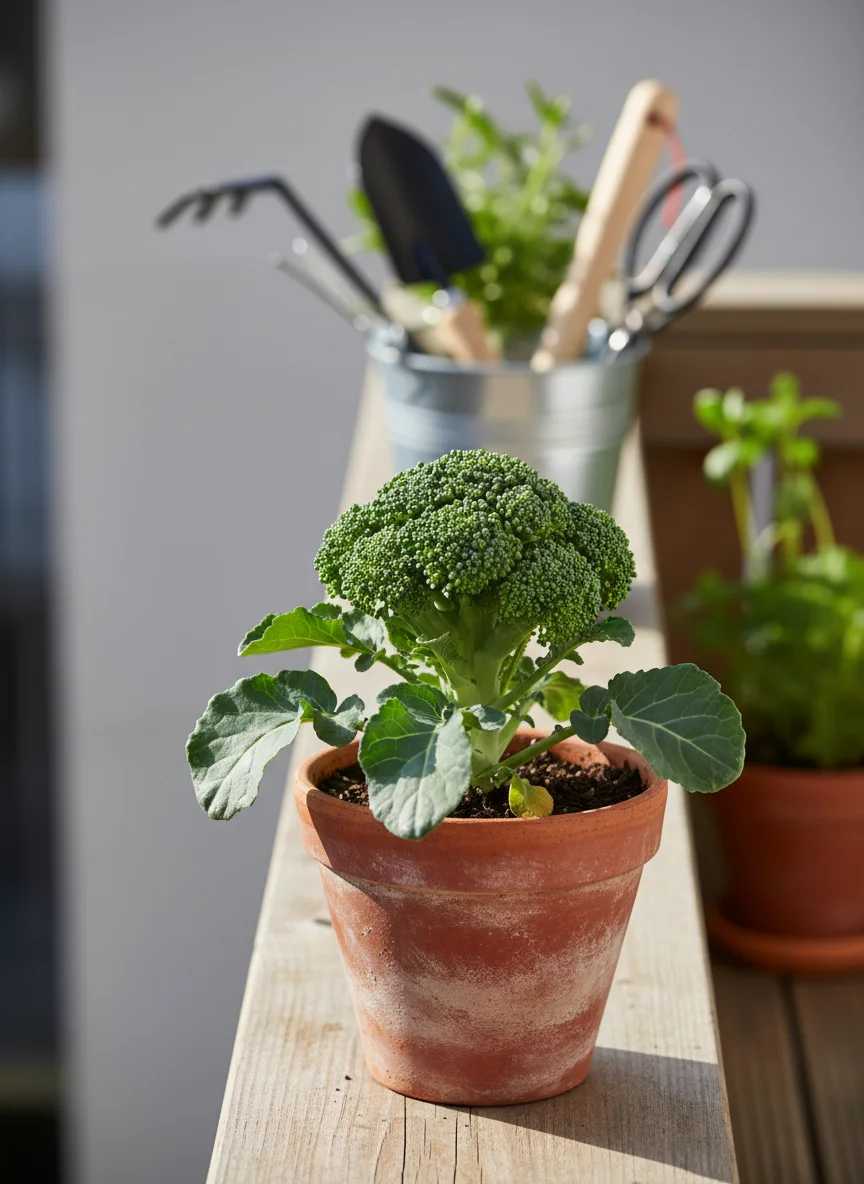
Material Selection
The material of your pot affects how you care for the plant. Plastic pots are lightweight and cheap. They also retain moisture very well. This means you might water less often. However, plastic can heat up quickly in direct sun. Terracotta or clay pots are porous. They allow air to reach the roots, which promotes health. This is often overlooked, but terracotta wicks moisture away from the soil. You will need to water terracotta pots more frequently than plastic ones. Fabric grow bags are another excellent option. They provide superior aeration and prevent roots from circling the pot. Just remember that fabric bags dry out the fastest of all.
2. Preparing the Perfect Soil Foundation
You cannot dig up dirt from your yard and put it in a pot. Garden soil is heavy. It contains clay and sand that compacts over time. When you put garden soil in a container, it turns into a concrete-like brick after a few waterings. This suffocates the roots. You need a medium that stays fluffy and aerated.
The Mix
Purchase a high-quality potting mix. Look for a mix that contains peat moss, coconut coir, perlite, or vermiculite. These ingredients ensure the soil retains water while draining excess liquid. The texture should be light and crumbly. This allows the delicate feeder roots to expand without resistance.
pH Levels
Broccoli prefers soil that is slightly acidic to neutral. You want to aim for a pH between 6.0 and 7.0. Most commercial potting mixes fall within this range naturally. If you are unsure, inexpensive test kits are available at garden centers. If the soil is too acidic, the plant cannot access the nutrients it needs. If it is too alkaline, you face similar lockout issues. Keeping the pH balanced ensures the plant can feed itself.
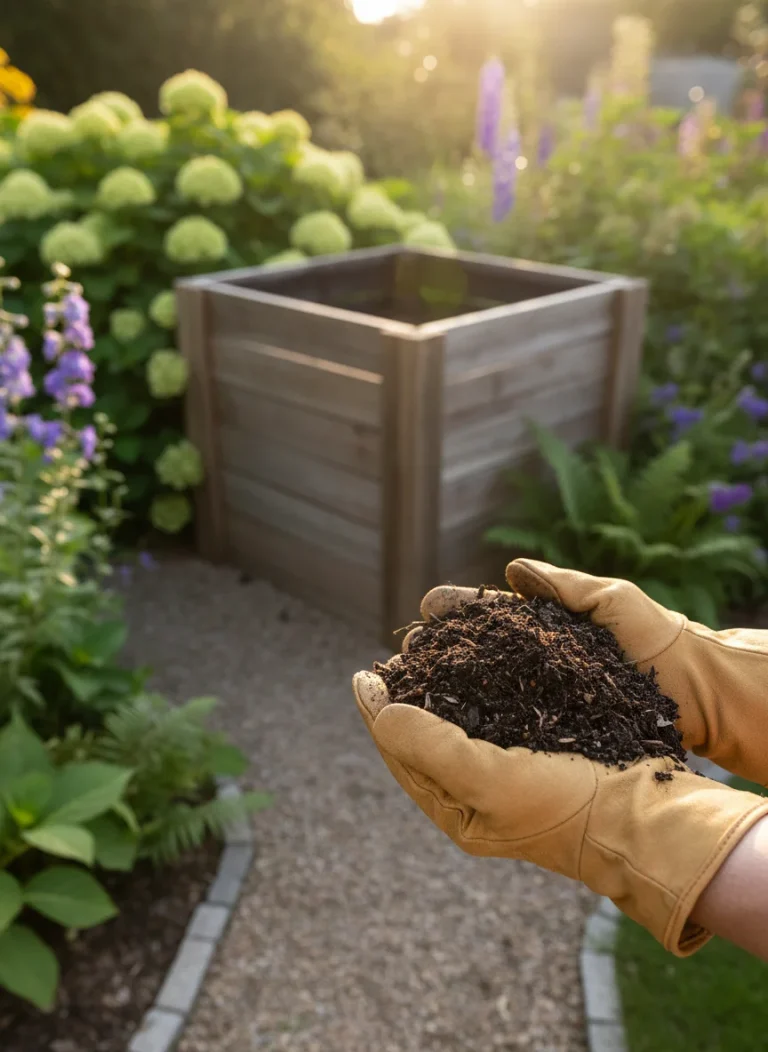
Initial Fertility
Broccoli is a hungry plant. We call it a heavy feeder. A standard potting mix usually has a small amount of fertilizer, but it is rarely enough for the long haul. Amend your mix with organic compost or well-rotted manure before planting. Mix it thoroughly into the top few inches of the soil. This provides a slow-release source of nitrogen and organic matter. It gives the seedling a strong start immediately after planting.
3. Strategic Planting
Timing is everything with broccoli. It is a cool-season crop. It thrives when the air is crisp. It suffers when the temperatures climb. If you plant it in the middle of a scorching summer, the plant will stress out. It will skip making a head and go straight to flower production. This ruins the flavor.
When to Plant
Aim for growing temperatures between 60°F and 70°F. You have two main windows of opportunity. The first is early spring. You want to plant so the broccoli matures before the summer heat arrives. The second window is late summer. You plant then for a fall harvest. The cooling autumn air makes the broccoli taste sweeter.
Sowing Seeds
If you start from seed, sow them about 1/2 inch deep in the soil. Cover them lightly and water gently. You can plant two or three seeds in the center of your 5-gallon pot to ensure germination. Once the seedlings are 2 to 3 inches tall, you must make a tough choice. You have to thin them out. Keep the strongest looking seedling and snip the others off at the soil line. Do not pull them out, as this disturbs the roots of the survivor. You want only one plant per container. Period. Crowding them will result in failure.
Using Transplants
Many gardeners prefer buying established seedlings from a nursery. This saves time. When planting a transplant, dig a hole in your potting mix that matches the size of the root ball. Place the plant in the hole. Ensure it sits level with the soil line. Do not bury the stem deeper than it was in the original pot. Pat the soil down gently around the base to remove air pockets. Water it immediately to help it settle.
4. Daily Care and Maintenance
Once your broccoli is in the pot, the real work begins. Consistency is the secret to a great harvest. You cannot neglect the plant for a week and expect it to bounce back.
Sunlight Requirements
Broccoli needs energy to produce those dense green heads. Place your container where it will receive at least 6 to 8 hours of direct sunlight every day. Morning sun is ideal because it is bright but cooler. The harsh afternoon sun can sometimes be too intense in warmer climates. If you notice the plant wilting severely in the afternoon, consider moving the pot to a spot with some late-day shade.
Watering Routine
Boring, but essential. Water management makes or breaks container gardening. The soil should remain consistently moist. It should feel like a wrung-out sponge. It should never be soggy, and it should never be bone dry. In a container, soil dries out much faster than in the ground. You may need to water every 2 to 3 days. In windy or hot weather, you might need to water daily.
Use the finger test. Stick your finger an inch into the soil. If it feels dry, add water. If it feels wet, wait another day. Inconsistent watering leads to bitter-tasting broccoli. It can also cause the developing head to split open.
Feeding the Plant
We mentioned earlier that broccoli is a heavy feeder. The nutrients in the pot will deplete after a few weeks of growth. You must replenish them. Once the plant is established and growing new leaves, apply a balanced liquid fertilizer. A 10-10-10 formula works well. Apply this every 2 to 3 weeks. Follow the instructions on the fertilizer package carefully. Over-fertilizing can burn the plant, but under-fertilizing will leave you with a weak, yellowing vegetable.
Pest Control
Let’s be honest. You are not the only one who wants to eat your broccoli. Pests love this plant. The most common enemies are aphids and cabbage worms. Aphids are tiny insects that cluster on the undersides of leaves. They suck the sap and weaken the plant. Cabbage worms are green caterpillars that chew large holes in the foliage.
Inspect your plant regularly. Look under the leaves. If you see cabbage worms, pick them off by hand and remove them. For aphids, a strong spray of water can often knock them off. If the infestation is bad, use organic neem oil. It is safe for vegetables and effective against these pests. Catching problems early is the best defense.
5. The Harvest
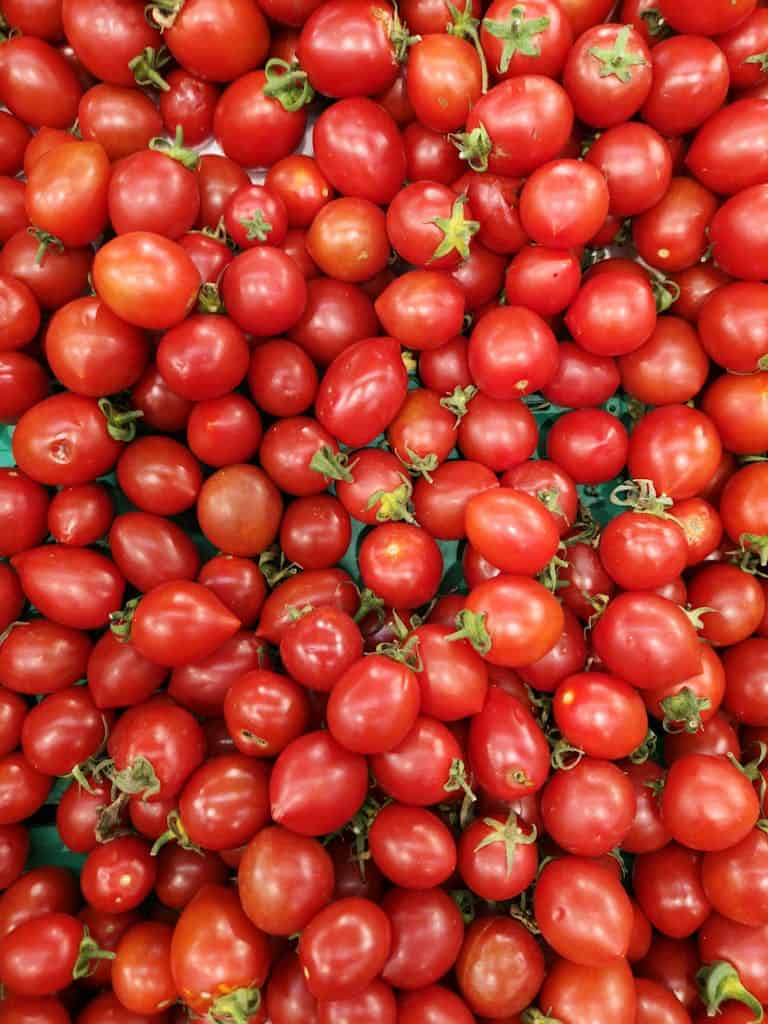
After months of care, the moment arrives. Most broccoli varieties are ready to harvest 60 to 100 days after planting. The visual cue is more important than the calendar date.
Knowing When to Cut
Watch the center of the plant. You are looking for a firm, tight head with deep green buds. The head should be roughly 4 to 7 inches wide, depending on the variety. Do not wait for the buds to separate or turn yellow. If you see yellow flowers starting to open, you have waited too long. The texture will be woody and the taste will be bitter. Harvest while the head is still tight and compact.
The Cut
Use a sharp knife. Cut the main stem about 5 to 6 inches below the head. Make the cut at a slant. This angle prevents water from pooling on the remaining stem, which could cause rot. Clean cuts heal faster and keep the remaining plant healthy.
The Bonus Harvest
Do not throw the plant away after you cut the main head. This is a common mistake. Leave the plant in the pot. Continue to water and feed it. Broccoli often produces side shoots. These are smaller heads that sprout from the sides of the stem. They are bite-sized and just as delicious as the main head. You can harvest these side shoots for several weeks after the main event. It extends your yield significantly.
Growing broccoli in containers is a satisfying project. It requires attention to detail regarding soil moisture and feeding, but the reward is worth it. You get clean, chemical-free vegetables right outside your door. Start with a good pot, use quality soil, and keep the plant cool and fed. You will be amazed at what you can produce in a simple 5-gallon container.
Read More
The Ultimate Simple Guide to Growing Vegetables in Containers
The Mosquito Shield: Plants That Repel Mosquitoes
The One Vegetable Every Gardener Should Grow (A Complete Guide)