How to Grow Potatoes in Containers: An Easy Guide
Disclosure: This article contains affiliate links. As an Amazon Associate, we earn from qualifying purchases at no extra cost to you. We only recommend products we would use ourselves.
When I first heard about growing potatoes in containers, I admit I was skeptical. My image of potato farming involved vast fields and heavy machinery, not a compact patio setup. Yet, with a small urban garden and a passion for growing my own food, I decided to give it a try. To my absolute delight and genuine surprise, the results were phenomenal, teaching me just how simple and rewarding it can be to grow potatoes in containers. This method offers a fantastic solution for anyone with limited space, poor garden soil, or simply a desire for a homegrown harvest.
I remember my first container potato harvest, gently tipping out a fabric bag to reveal a treasure trove of fresh, earthy tubers. That feeling, the satisfaction of unearthing your own dinner, is truly unmatched. This guide distills my experience into practical, easy-to-follow steps, ensuring you can replicate that joy in your own space. Forget the notion that growing potatoes requires acres of land. You can achieve an abundant harvest right on your balcony, patio, or even a sunny corner of your yard.
Why Grow Potatoes in Containers? The Unexpected Advantages
Growing potatoes in containers comes with several distinct advantages that make it an appealing option for gardeners of all levels. First, it offers unparalleled flexibility. You can move your containers to follow the sun, protect plants from unexpected frost, or simply rearrange your garden layout as needed. This portability is a game-changer for urban gardeners or those with changing sun patterns.
Second, container gardening largely mitigates soil-borne diseases and pests common in traditional garden beds. You start with fresh, sterile potting mix each season, reducing the risk of issues like scab or blight that can linger in garden soil. This control gives you a healthier start. Furthermore, harvesting becomes incredibly easy; simply tip out the container. No more back-breaking digging through compacted earth.
Choosing the Best Containers for Growing Potatoes
The success you find when you grow potatoes in containers heavily depends on selecting the right vessel. Potatoes need ample space for their tubers to develop, so bigger is generally better. When I first started, I experimented with various container types, and I quickly learned what truly works.
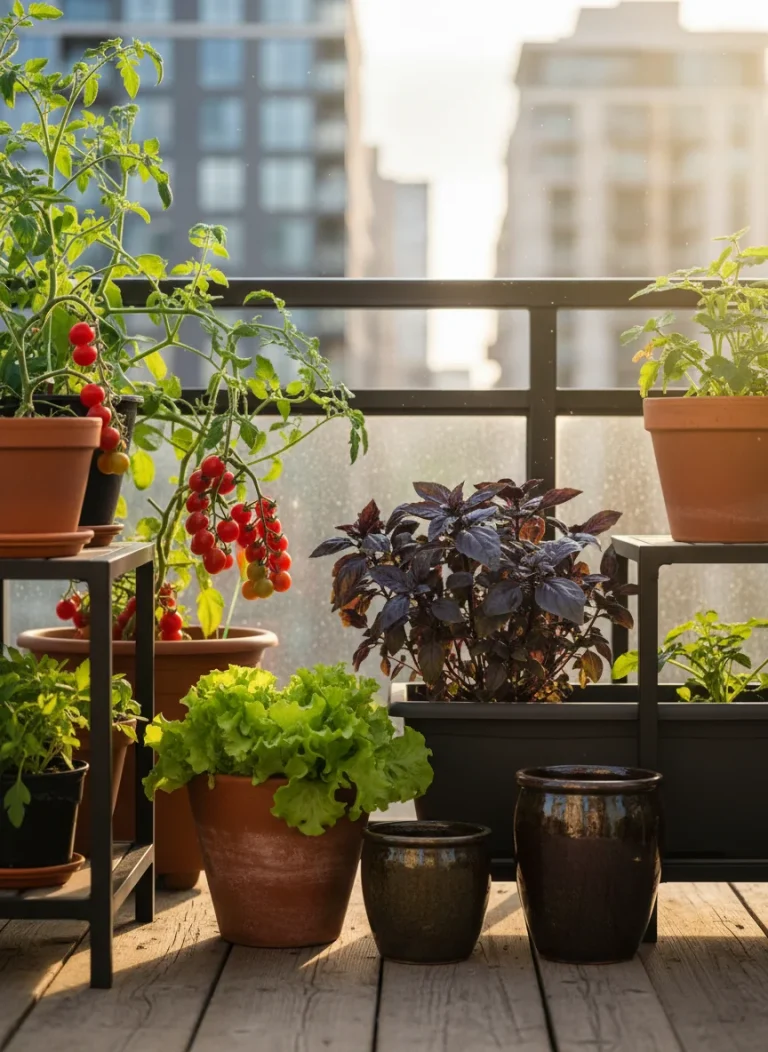
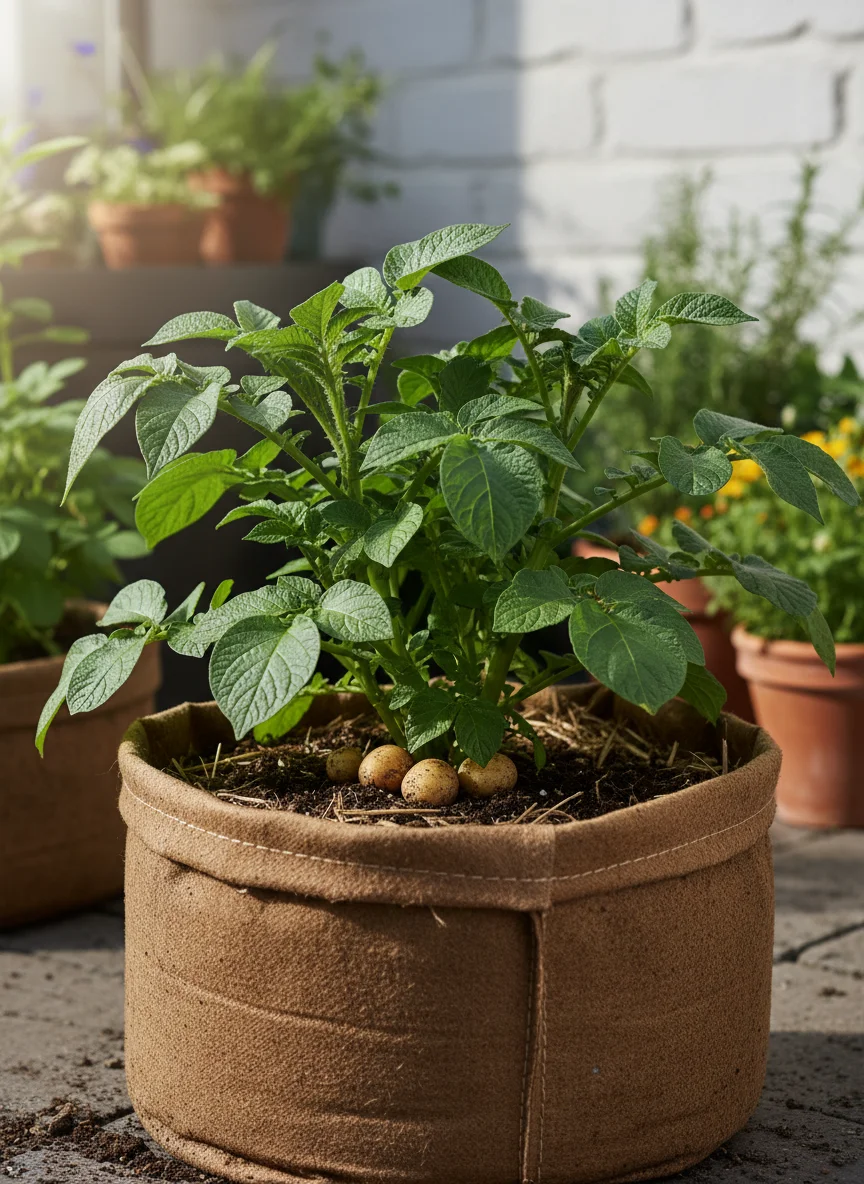
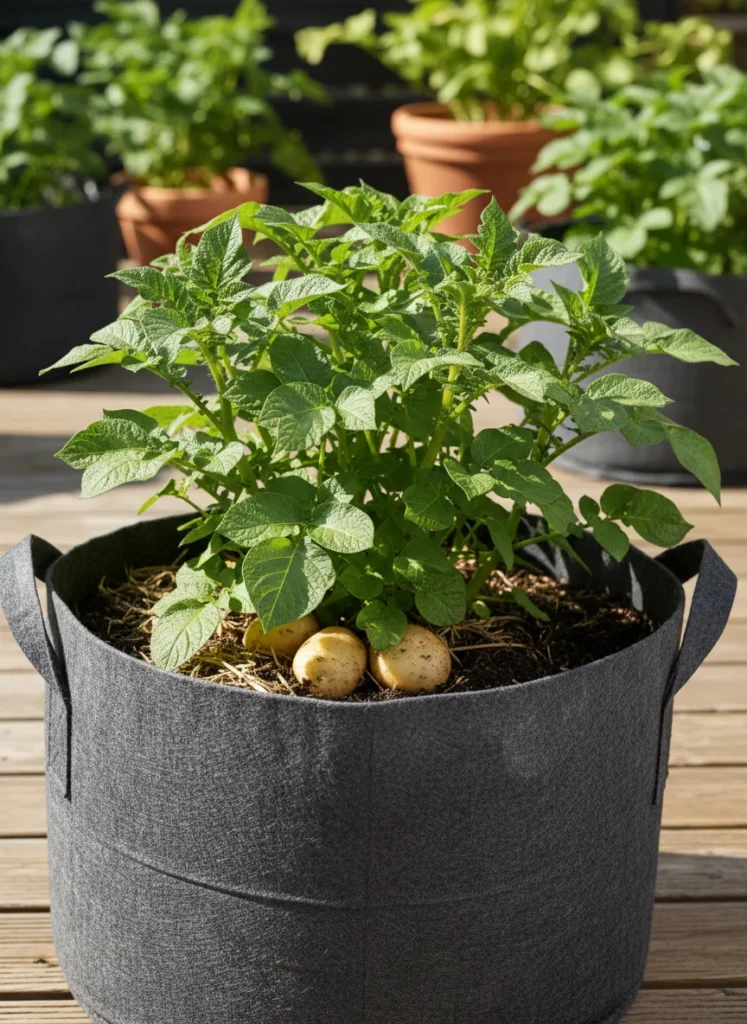
Fabric grow bags consistently outperform other options for growing potatoes. They are lightweight, durable, and allow for excellent air circulation to the root zone, preventing waterlogging and promoting healthy growth. The porous material naturally prunes root tips, encouraging a denser, more fibrous root system. I highly recommend investing in quality fabric grow bags, specifically those in the 10-gallon to 15-gallon range. A 10-gallon bag usually supports one to two seed potatoes, while a 15-gallon bag comfortably holds two to three, allowing for a more substantial harvest. You can read more about various options in our article on the best vegetables to grow in grow bags.
Beyond grow bags, you have other options. Large plastic bins, five-gallon buckets with drainage holes, repurposed trash cans, or even sturdy wooden crates all work well. Ensure any container you choose has plenty of drainage holes at the bottom. Without proper drainage, your potatoes will rot, and all your hard work will be for naught. Do not use containers smaller than 5 gallons per plant. A good rule of thumb is to provide at least 2 cubic feet of soil per potato plant for optimal yield.
Selecting the Right Soil Mix for Container Potato Growing
The soil is the foundation of your container potato growing success. Potatoes are heavy feeders and require a rich, well-draining, and slightly acidic potting mix. Do not use heavy garden soil straight from your yard; it compacts easily in containers, leading to poor drainage and stunted tuber development.
I always use a high-quality, lightweight vegetable potting mix as the base. Look for mixes specifically formulated for containers, as these contain ingredients that promote aeration and drainage. Adding perlite improves drainage further. I typically amend my potting mix with about 10-20% perlite to ensure the perfect balance. You can purchase a good quality vegetable potting mix and perlite easily online or at your local garden center.
For a detailed dive into creating the perfect environment for your container vegetables, consider exploring our article on the best soil for container vegetables. This resource offers excellent insights into selecting and amending your potting mix for maximum plant health. Potatoes thrive in a pH range of 5.0 to 6.0, which is slightly acidic. Most quality potting mixes will naturally fall within this range, but you can test your soil pH if you are concerned. University extension services often provide affordable soil testing kits and advice, for example, Cornell University offers extensive gardening resources for home growers.
Choosing the Best Potato Varieties for Container Growing
Not all potatoes are created equal when it comes to thriving in pots. Some varieties are naturally better suited for the confined space of a container. Look for early to mid-season varieties, as they tend to mature faster and often produce a good yield in a compact growth habit. Determinate potato varieties are generally considered ideal for container growing because they produce tubers in a single layer at the original planting depth. Indeterminate varieties, on the other hand, produce tubers along the stem as it grows, making them better suited for deep trenches in the ground. However, with proper “hilling” techniques, you can successfully grow indeterminate varieties in containers too.
Some of my favorite varieties for container cultivation include ‘Yukon Gold’ for its buttery flavor, ‘Kennebec’ for its versatility, and ‘Red Norland’ for early harvests. Fingerling varieties like ‘French Fingerling’ also perform exceptionally well, offering gourmet-quality potatoes in a smaller package. Always purchase certified disease-free seed potatoes from a reputable supplier. Never plant potatoes from the grocery store, as they may carry diseases or be treated with sprout inhibitors, leading to poor germination. You can find a wide selection of seed potatoes from various online retailers during the spring planting season.
Chitting Your Seed Potatoes: A Head Start for Your Harvest
Chitting, or pre-sprouting, your seed potatoes is an optional but highly recommended step. This process encourages the development of strong, short sprouts before planting, giving your potatoes a head start and potentially leading to earlier and larger yields.
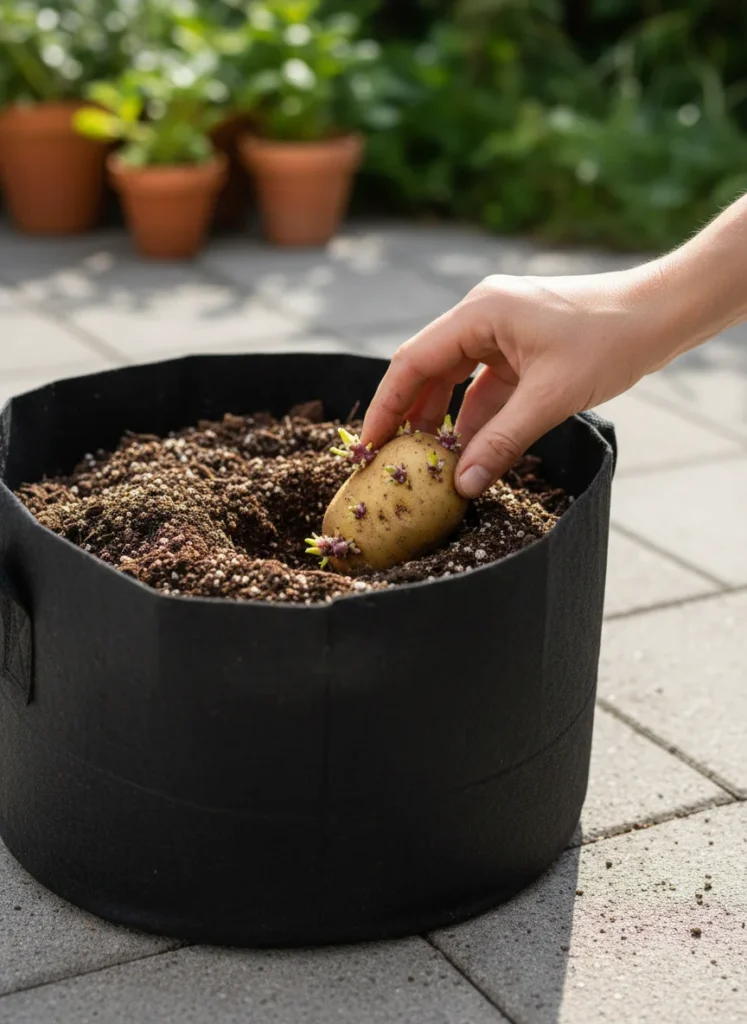
To chit your seed potatoes, simply place them in a single layer in an egg carton or shallow tray in a cool, bright location, but out of direct sunlight. A garage workbench or a windowsill that receives indirect light works perfectly. After one to two weeks, you will see short, stubby, greenish-purple sprouts emerge. These are exactly what you want. Long, pale, spindly sprouts indicate too little light.
Once sprouts appear, you can cut larger seed potatoes into smaller pieces. Each piece should have at least one or two “eyes” or sprouts, and weigh approximately 1.5 to 2 ounces. Allow the cut pieces to “cure” for a day or two by leaving them uncovered at room temperature. This forms a protective layer over the cut surface, preventing rot once planted. Smaller seed potatoes can be planted whole.
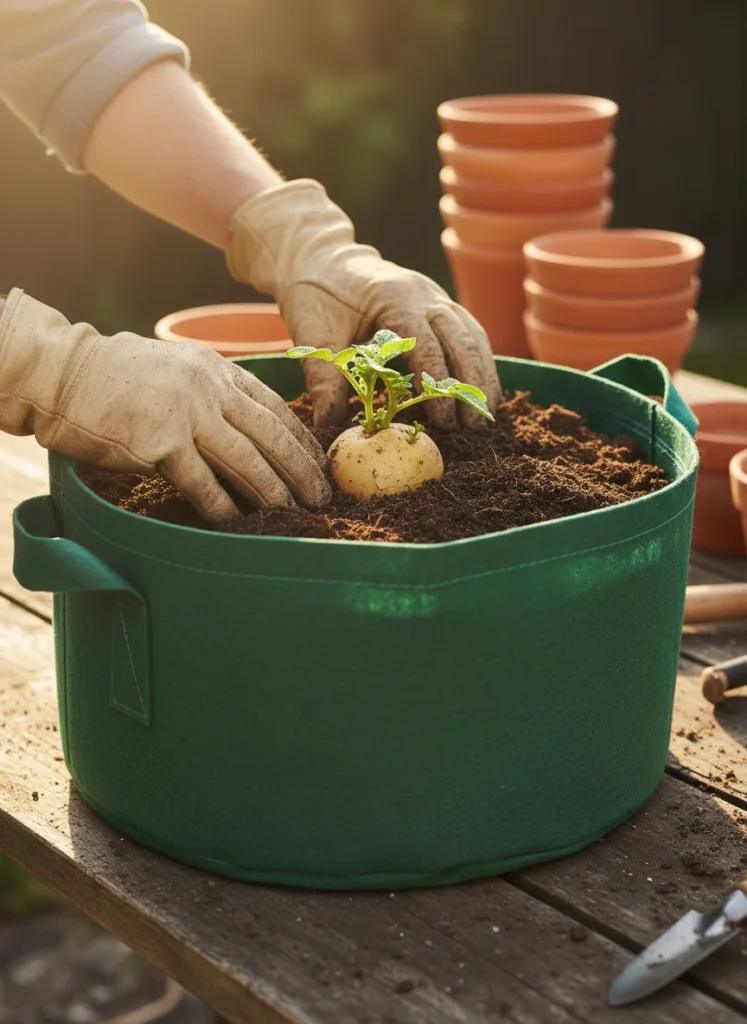
Planting Your Potatoes in Pots: The Initial Steps
The actual planting process for how to grow potatoes in containers is quite straightforward. First, ensure your chosen container has excellent drainage. If using a fabric grow bag, you are all set. For plastic containers, drill several 1/2-inch holes in the bottom.
Fill the bottom of your container with about 6 inches of your prepared potting mix. Then, place your chitted or cut seed potatoes on top of this layer, sprouts facing upwards. For a 10-gallon container, plant one or two seed potatoes. For a 15-gallon container, you can plant two or three. Space them evenly. Cover the seed potatoes with another 4-6 inches of potting mix. Water thoroughly, ensuring the soil is consistently moist but never waterlogged.

The Critical Hilling Technique: Maximizing Your Container Potato Yield
This is the secret sauce, the single most important technique for a truly abundant harvest when you grow potatoes in containers. Potato tubers form on the underground stem, not directly from the roots. By continually burying the stem as it grows, you encourage the plant to produce more stem material, and thus, more potatoes. This process is called “hilling.”
Understanding the Hilling Process
As your potato plant grows, you will notice the stem emerging from the soil. Once the plant reaches about 6-8 inches tall, you need to begin hilling. Gently add more potting mix around the base of the plant, covering most of the stem and leaving only the top 3-4 sets of leaves exposed. Essentially, you are burying a significant portion of the stem, prompting it to produce more tubers.
Repeat this process every time the plant grows another 6-8 inches. Continue adding soil, leaving just the uppermost leaves showing, until the container is almost full. This systematic covering of the stem is crucial. It maximizes the amount of underground stem where new potatoes can develop. If you neglect hilling, your potato yield will be significantly reduced, as tubers will only form near the initial planting depth. Keep the soil loose around the stems for easy tuber development.
Watering and Fertilizing for Robust Potato Growth
Potatoes are thirsty plants, especially when grown in containers. They need consistent moisture throughout their growing season. The soil should always feel slightly damp to the touch, like a wrung-out sponge. Never let the container dry out completely. Dry spells, followed by heavy watering, can lead to uneven growth and issues like hollow heart or growth cracks in the tubers.
Check your containers daily, especially during hot, dry weather. You may need to water once or even twice a day. Fabric grow bags, while excellent for aeration, tend to dry out faster than plastic pots. Water until you see a little bit of drainage from the bottom of the container, indicating the entire root ball is saturated.
Potatoes are also heavy feeders. I incorporate a slow-release granular vegetable fertilizer into my potting mix at planting time. A product like Espoma Garden-tone Organic Plant Food works wonderfully. This provides a steady supply of nutrients throughout the growing season. If you prefer liquid feeding, start once the plants are about 6 inches tall and feed every 2-3 weeks with a balanced liquid fertilizer, following the product’s instructions. Avoid fertilizers extremely high in nitrogen once the plants start to flower, as this encourages foliage growth at the expense of tuber development. Look for a fertilizer with a lower first number (Nitrogen) and higher second and third numbers (Phosphorus and Potassium) during the tuber formation stage.
Managing Pests and Diseases in Container Potato Plants
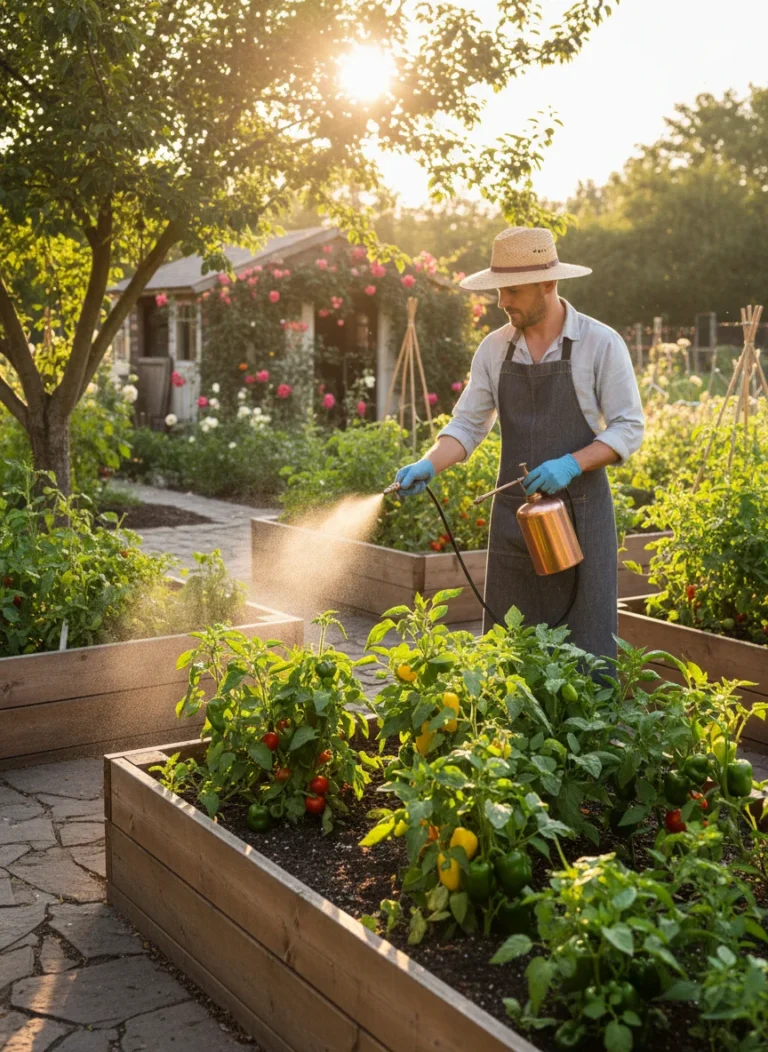
One of the benefits of container growing is a reduced incidence of soil-borne diseases. However, above-ground pests can still find your potato plants. Common culprits include Colorado potato beetles, aphids, and flea beetles. Inspect your plants regularly, at least once a week, for any signs of trouble.
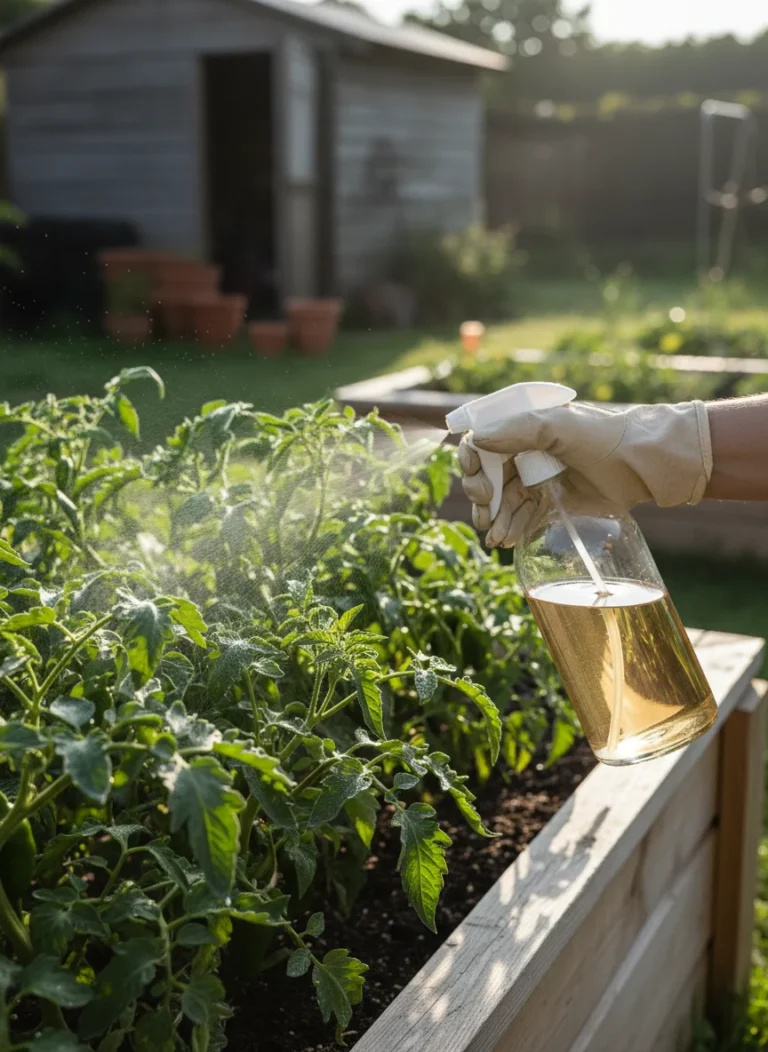
Early detection is key. Hand-picking Colorado potato beetles and their larvae is an effective organic control method. For aphids or flea beetles, a strong spray of water can dislodge them. If infestations persist, consider using an organic insecticidal soap or neem oil spray. Always follow label directions carefully. Ensuring good air circulation by not overcrowding plants also helps prevent fungal diseases. If you do notice issues, addressing them quickly can save your harvest.
When and How to Harvest Your Container Potatoes
The most exciting part of learning how to grow potatoes in containers is, of course, the harvest. The timing depends on the variety you planted. Early varieties are ready in about 70-90 days, while main-crop varieties take 100-130 days. You will know your potatoes are ready when the foliage begins to yellow and die back. This signals that the plant has put all its energy into developing those delicious tubers underground.
For “new potatoes,” you can sometimes carefully “rob” the plant. Gently reach into the soil around the base of the plant once it has been hilled up several times, feeling for small tubers. Take a few, then carefully cover the roots back up. This allows the plant to continue growing larger potatoes.
For the main harvest, wait until the foliage has completely died back, about two weeks after it has turned yellow. This allows the potato skins to “set” or toughen, which improves their storage quality. To harvest, simply tip the entire contents of the grow bag or container onto a tarp or piece of cardboard. Then, gently sift through the soil to find all the hidden treasures. It feels like digging for gold every time. Brush off any excess soil, but do not wash them until you are ready to use them.
Curing and Storing Your Container Potato Harvest
After harvesting, proper curing and storage are essential to extend the life of your homegrown potatoes. Do not wash your potatoes immediately after harvest. Instead, gently brush off any large clumps of soil.
Spread your freshly harvested potatoes in a single layer in a cool, dark, well-ventilated area for about 10-14 days. A garage, basement, or even a covered porch works well, as long as temperatures remain between 50-60°F (10-15°C) and the humidity is high. This curing process allows any nicks or cuts to heal and thickens the skin, significantly improving their storage life.
After curing, store your potatoes in a cool, dark, and humid place. Burlap sacks, cardboard boxes, or even paper bags work well, as they allow for air circulation. Avoid storing them in plastic bags, which can trap moisture and lead to rot. Keep them away from onions and apples, as gases emitted by these produce items can encourage sprouting. Properly stored potatoes can last for several months, providing you with fresh, homegrown goodness well into the winter.
Bark Secret Tips for Container Potato Growing
These are some of the practical tips I’ve learned over several seasons of cultivating potatoes in containers. They genuinely make a difference.
1. Bottom Layer Drainage: Before adding your initial soil, place a 1-2 inch layer of coarse material like small stones or broken pottery shards at the very bottom of your container. This provides an extra buffer for drainage, preventing the lowest soil from becoming waterlogged. 2. Consistent Watering, Not Just Volume: Instead of just thinking about how much water to give, focus on consistency. Short, frequent watering can be better than drenching once a week, especially in grow bags that dry out quickly. Feel the soil daily. 3. Fertilize Proactively: Potatoes are heavy feeders. Do not wait for yellowing leaves to fertilize. Incorporate a good slow-release granular fertilizer at planting and follow up with a balanced liquid feed every few weeks once plants are established. This keeps them strong. 4. Monitor for Sunburn: As you hill your potatoes, ensure no tubers are exposed to sunlight. Green spots on potatoes indicate solanine, a toxic compound. Always keep tubers fully buried. If you see any green, simply cut it away before cooking. 5. Crop Rotation, Even in Containers: While containers reduce disease risk, rotating your potato growing spots each year helps. If you have multiple grow bags, use a different one next season for potatoes, or thoroughly clean and sterilize your containers and use fresh potting mix. This keeps your plants healthy.
Frequently Asked Questions about Growing Potatoes in Containers
Can I grow potatoes in containers indefinitely, year after year? While you can, it’s not ideal to use the same soil mix. Potatoes deplete specific nutrients and can leave behind disease spores. For best results, use fresh potting mix each season and thoroughly clean your containers. This helps ensure a healthy environment for your potatoes in pots.
How many seed potatoes can I plant in a 5-gallon bucket? A 5-gallon bucket is on the smaller side for potato growing. You should plant only one seed potato per 5-gallon bucket to give it adequate space and nutrients. For better yields, I recommend upgrading to 10 or 15-gallon fabric grow bags.
What if my potato plant starts to flower? Does that mean it’s ready for harvest? Not necessarily. Potato flowers are a natural part of the plant’s life cycle and indicate it is putting energy into reproduction. Tuber formation happens underground concurrently. The best indicator for harvest is when the foliage begins to yellow and die back naturally, not just the appearance of flowers.
My potato leaves are turning yellow. Is this normal? If your potato leaves are turning yellow late in the season, particularly when the plant has already flowered and grown quite large, it is likely a natural sign that the plant is maturing and putting its energy into tuber development. This signals the approach of harvest. However, if leaves turn yellow prematurely, it could indicate nutrient deficiency (often nitrogen), overwatering, or disease. Check your watering schedule and consider a balanced fertilizer if it’s too early for harvest. For other vegetable-specific yellowing issues, you might find guidance in articles like Why Are My Tomato Leaves Turning Yellow?.
Do I need to fertilize my potatoes if I use a rich potting mix? Yes, even a rich potting mix has finite nutrients. Potatoes are heavy feeders and will quickly deplete these. Incorporating a slow-release granular fertilizer at planting and following up with liquid feeds every few weeks throughout the growing season ensures your plants have the sustained nutrients they need for optimal tuber development.
Conclusion: Embrace the Joy of Container Potato Growing
Growing potatoes in containers has truly transformed my understanding of what’s possible in a small space. It’s an incredibly rewarding experience, turning a simple seed potato into a bountiful harvest of fresh, homegrown goodness. From the initial planting to the exciting moment of unearthing your own crop, every step feels genuinely satisfying.
Do not let limited space or past gardening struggles deter you. This method offers a controlled, manageable way to enjoy one of gardening’s most satisfying rewards. Give container potato growing a try this season. You might be just as surprised and delighted as I was by the incredible results. Happy digging, and enjoy your delicious, homegrown potatoes!