Composting for Beginners: The Ultimate No-Fail Guide

Turning Waste into Black Gold
Let’s be honest. The idea of composting can feel intimidating to a beginner. We often imagine complex ratios, bad smells, and attracting unwanted pests to our backyards. However, the truth is far simpler. Composting is merely the act of speeding up the natural decay process that happens in forests every single day. Nature knows how to recycle. We are just giving it a helping hand.
When you start composting, you are not just managing waste. You are becoming a microbe farmer. Your goal is to create a comfortable home for beneficial bacteria and fungi. These tiny workers do all the heavy lifting for you. They break down your kitchen scraps and yard waste into nutrient-dense soil that gardeners call “black gold.”
This guide will walk you through the entire process. We will strip away the confusion and focus on the fundamental rules that guarantee success. You do not need a degree in chemistry to build a thriving compost pile. You simply need to understand four basic ingredients and a few easy steps.
The Four Essential Ingredients
A healthy compost pile is a living ecosystem. Like any living thing, it has specific needs to survive and thrive. If you can balance these four elements, your compost will break down quickly and smell like fresh earth.
1. Nitrogen (The Greens)
Nitrogen is the fuel for the microorganisms. It provides the protein they need to grow and multiply. In the gardening world, we call these materials “Greens.” They are typically wet, colorful, and break down rapidly.
Common sources of nitrogen include:
- Fruit and vegetable scraps (peels, cores, and ends)
- Grass clippings
- Green plant trimmings
- Coffee grounds (even though they look brown, they are rich in nitrogen)
- Tea bags (remove the staple first)
- Eggshells (adds calcium)
2. Carbon (The Browns)
Carbon provides the energy for the microbes. It also gives the pile structure. This structure creates air pockets that allow oxygen to flow through the material. We call these materials “Browns.” They are typically dry, woody, and fibrous.
Boring, but essential. That is the best way to describe Browns. You need a lot of them. Common sources include:
- Dry leaves (the best source)
- Straw or hay
- Small twigs and wood chips
- Shredded newspaper (avoid glossy inserts)
- Cardboard (torn into pieces)
- Dried plant stalks
3. Oxygen (Air)
The beneficial microbes in your compost pile are aerobic. This means they need oxygen to breathe. If your pile lacks air, the good microbes die. They are replaced by anaerobic microbes that do not need air. These are the bad guys that produce foul odors like rotten eggs or ammonia. Keeping the pile aerated is the secret to a smell-free compost bin.
4. Water (Moisture)
Life requires water. Your compost pile needs to remain damp for the decomposition process to work. If the pile is too dry, the microbes go dormant and nothing happens. If it is too wet, the air is pushed out and the pile rots instead of composting.
What NOT to Compost
Knowing what to leave out is just as important as knowing what to put in. Certain items can ruin your compost or create health hazards. Here is the reality of adding the wrong things. You will attract rats, raccoons, and flies. You might also introduce pathogens that can survive the composting process.
Strictly avoid these items:
- Meat and Bones: These rot and smell terrible. They are a magnet for pests. Period.
- Dairy Products: Cheese, milk, and yogurt cause similar issues to meat.
- Oils and Grease: These coat the materials and make them water-resistant. This suffocates the microbes.
- Pet Waste: Dog and cat waste contains parasites and pathogens that are dangerous to humans. Do not put this in compost that will touch your vegetable garden.
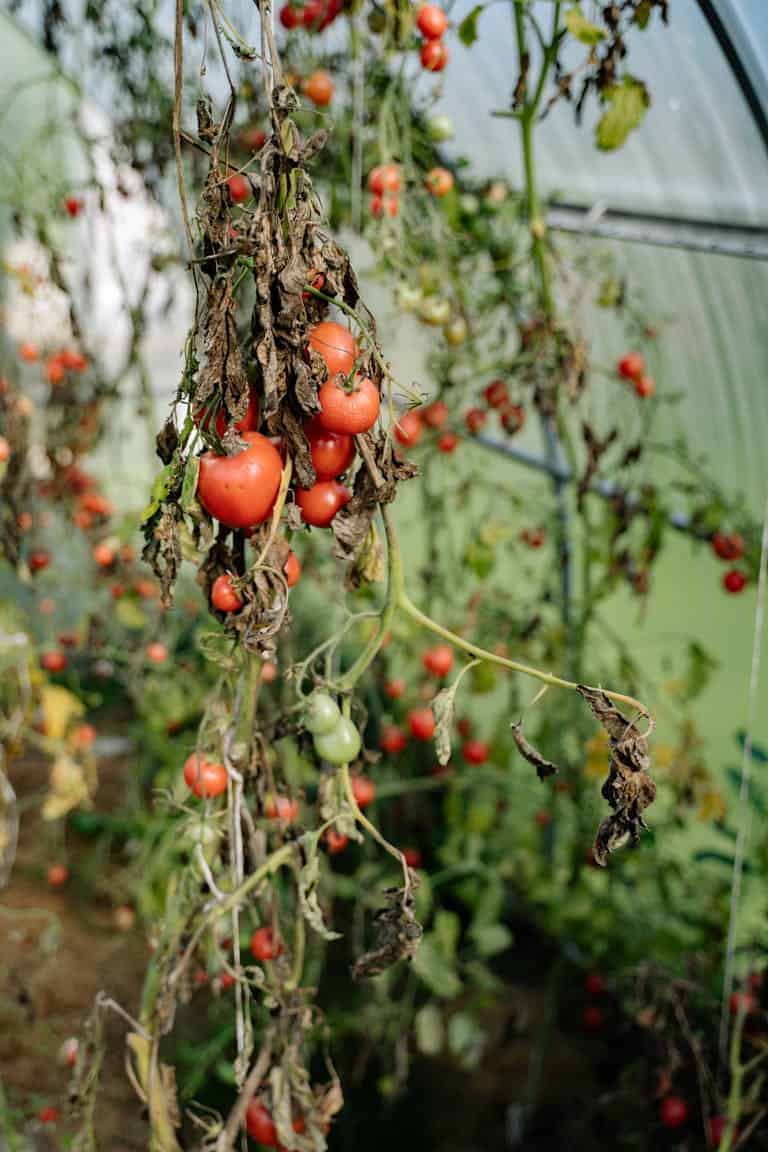
- Diseased Plants: Most home compost piles do not get hot enough to kill fungal diseases or viruses. Throw these in the trash to protect your garden.
- Weeds with Seeds: Unless your pile gets very hot, you will just be spreading weed seeds back into your garden later.
Step-by-Step Guide to Building Your Pile
Now that we understand the ingredients, we can start building. Follow this simple roadmap to establish a robust system.
Step 1: Choose Your Location and Container
Select a spot in your yard that is convenient. If the bin is too far from the house, you will be less likely to use it during bad weather. Look for a flat area. A semi-shady spot is ideal because it prevents the pile from drying out too quickly in the summer sun.
You have three main options for containers:
- Open Pile: The simplest method. You just pile materials on the ground. It is easy to turn but can look messy.
- Stationary Bin: These are usually plastic boxes with a lid. They look neat and keep pests out. If you place a bin directly on the soil, lay down a layer of hardware cloth or wire mesh first. This prevents rodents from burrowing up from underneath.
- Tumbler: These are bins raised off the ground on a stand. You can spin them to mix the contents. They are great for small spaces and keeping animals out.
Step 2: Build the Base Layer
Do not just dump your kitchen scraps on the bare ground. Start with a solid foundation. Lay down a four to six-inch layer of coarse Brown materials. Use twigs, thick stalks, or wood chips.
This bottom layer acts like a drainage system. It ensures that excess water can escape. It also allows air to flow into the pile from the bottom up. Good airflow starts here.
Step 3: The Lasagna Method
The most effective way to build a pile is by layering. Think of it like making lasagna. You want to alternate between your Greens and your Browns.
Start with a layer of Greens (your kitchen scraps). Then, cover that completely with a layer of Browns (leaves or cardboard). This is often overlooked, but the ratio matters. You should aim for roughly two to three parts Brown material for every one part Green material by volume.
Always finish with a thick layer of Browns on top. This acts as a bio-filter. It holds in odors and discourages fruit flies from investigating your fresh food scraps.
Step 4: Moisture Management
You need to check the moisture level regularly. The contents of your bin should feel like a wrung-out sponge. When you squeeze a handful, it should feel damp, but water should not drip out.
If you live in a dry climate, you may need to water your pile with a hose occasionally. If you live in a very rainy area, you might need to cover the pile with a tarp or lid to prevent it from becoming a soggy mess.
Step 5: Aerate the Pile
Oxygen needs to reach the center of the pile. To achieve this, you must turn or mix the materials. If you have a pitchfork, simply dig in and flip the materials over every few weeks. This moves the outer material to the center where the heat is higher.
If you have a tumbler, this step is effortless. Just give it a few spins every time you add new material. Turning the pile speeds up the decomposition significantly. A pile that is turned frequently can be ready in a few months. A pile that is never turned might take a year.
Troubleshooting Common Issues
Even with the best intentions, things can go wrong. The good news is that compost is forgiving. You can usually fix the problem by adjusting the balance of ingredients.
The Pile Smells Bad
If your compost smells like garbage or rotten eggs, it has gone anaerobic. This usually means it is too wet or has too much Green material. To fix this, add a large amount of dry Browns like shredded leaves or cardboard. Mix the pile thoroughly to introduce oxygen. The smell should dissipate within a few days.
Nothing is Happening
If the pile is just sitting there and the materials look the same after months, it is likely too dry or lacks nitrogen. The microbes have gone on strike. To jumpstart the system, add water until it reaches the sponge-like consistency. You should also mix in some fresh Greens like grass clippings to provide a quick boost of energy.
Pests are Visiting
If you see raccoons or dogs digging in the pile, you likely added something appetizing like meat or dairy. Stop adding those items immediately. Also, ensure that all fresh food scraps are buried deep within the pile and covered with a heavy layer of Browns. An enclosed bin is your best defense against persistent wildlife.
The Secret to Speed: Particle Size
This is a pro tip that makes a huge difference. The smaller the pieces, the faster they break down. Microbes can only attack the surface area of the material. If you throw a whole apple into the bin, it might take months to disappear. If you chop that apple into quarters, it will vanish in weeks.
Take a few extra seconds in the kitchen to chop up your watermelon rinds or tear your cardboard into smaller strips. Your compost will finish much faster.
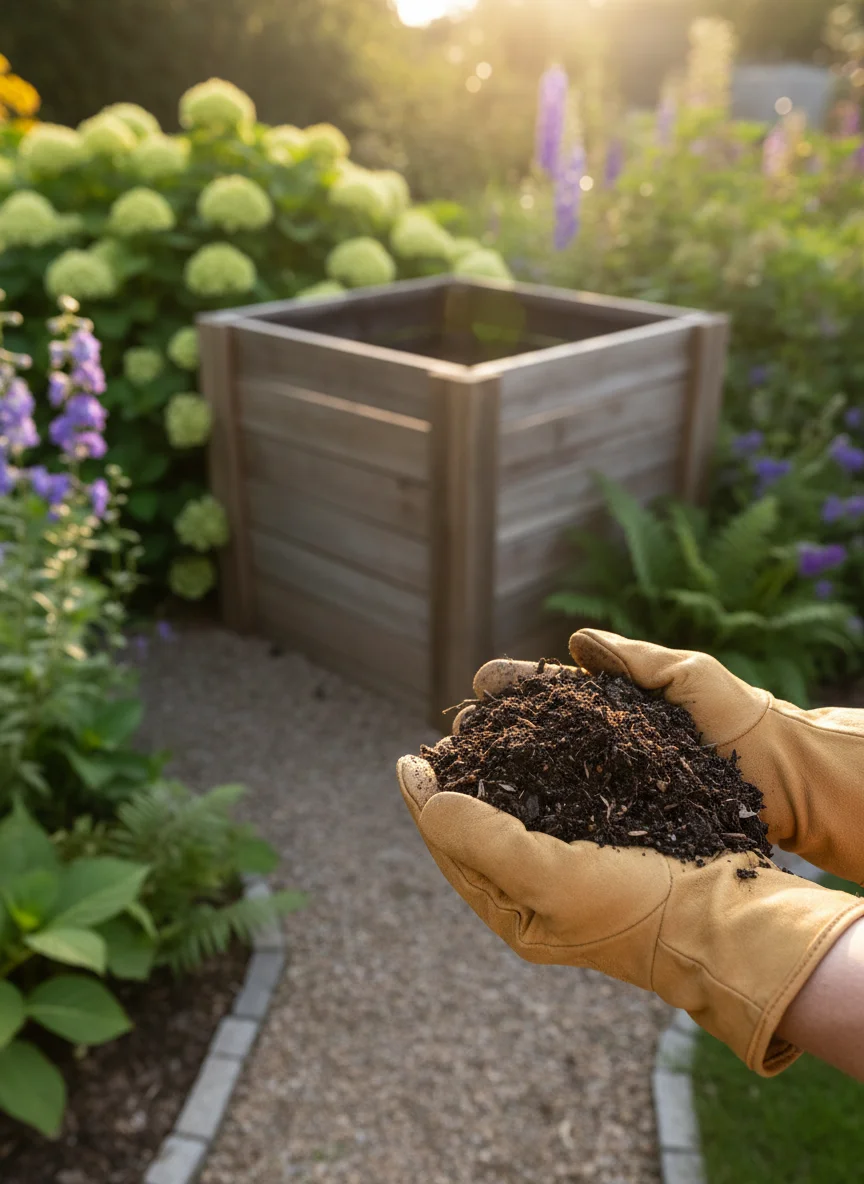
Knowing When It Is Ready
Patience is key. Depending on your effort level and the weather, finished compost can take anywhere from three months to a year. You will know it is ready when the material is dark, crumbly, and smells like a forest floor. You should not be able to recognize any of the original items, except perhaps a few stubborn eggshells or avocado pits.
Once it is ready, you can mix it into your garden beds, use it as a top dressing for your lawn, or add it to potting soil. You have successfully turned waste into a valuable resource. It is a simple cycle that benefits your garden and the planet.
Read More
10 Fast Growing Vegetables for Impatient Gardeners