Harvesting Ginger: How and When To Harvest Ginger For Best Result?
The Art and Science of the Ginger Harvest
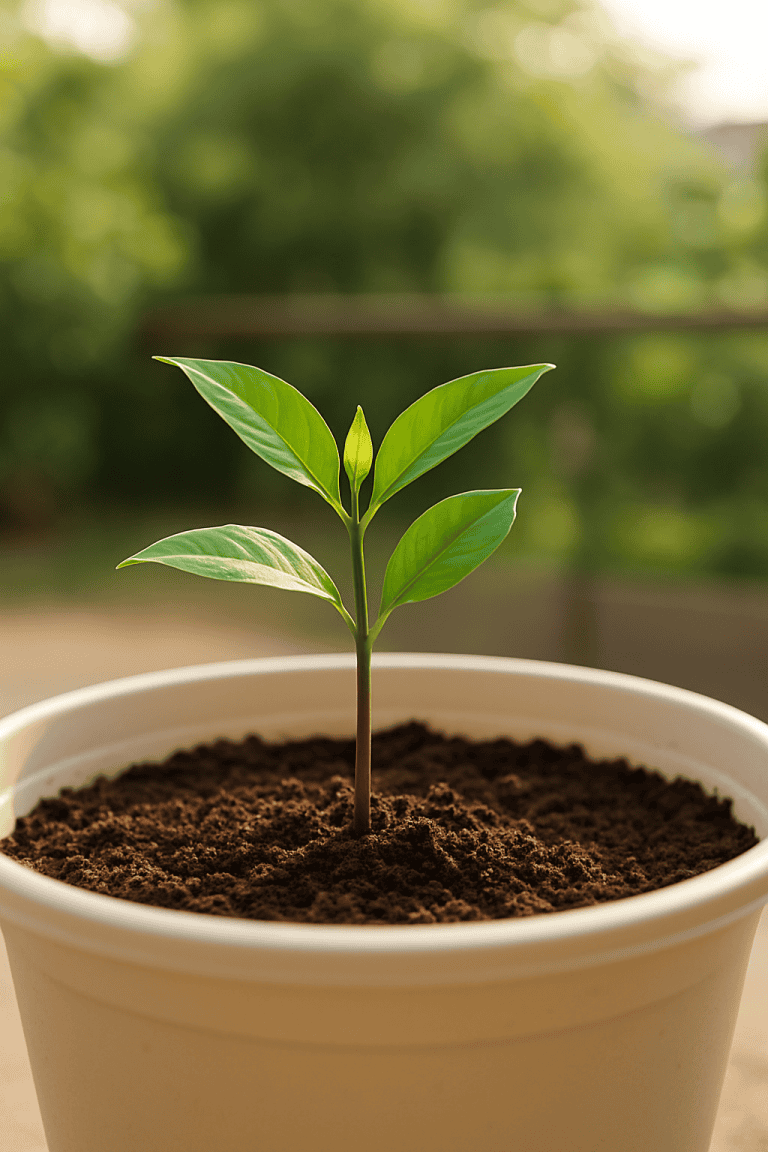
Growing ginger is an exercise in patience, but the harvest is where that patience pays dividends. Unlike traditional root vegetables like carrots or potatoes, ginger is a rhizome, a subterranean stem modification that stores starch and proteins to ensure the plant’s survival. When you harvest ginger, you are tapping into the plant’s energy reserve. However, the timing and technique you use will dictate whether you end up with a fibrous, spicy root suitable for drying, or a tender, mild delicacy that can only be found in home gardens.
Many gardeners treat ginger as a “plant it and forget it” crop, but understanding the biological cues of the plant is critical for maximizing your yield. Here is the reality of growing tropical rhizomes: they communicate their readiness through foliage changes that mimic death but actually signal dormancy. If you misinterpret these signs, you may harvest too early, resulting in a root that shrivels within days, or too late, risking rot in cold, wet soil.
This guide will walk you through the precise mechanics of harvesting ginger, the science behind curing, and how to perpetuate your harvest for seasons to come.
Decoding the Maturity Timeline
Ginger offers two distinct harvest windows, each providing a completely different culinary product. Understanding the difference between “Baby Ginger” and “Mature Ginger” is the first step in planning your harvest strategy.
1. Baby Ginger (The Culinary Delicacy)
Timeline: 4 to 6 months after planting.
Let’s be honest. You will likely never find true baby ginger in a standard supermarket. Because it lacks a tough outer skin, it cannot withstand the rigors of commercial shipping and storage. This makes it an exclusive reward for the home gardener.
At the 4-6 month mark, the rhizome is actively growing. It is plump, pink-hued, and exceptionally tender. There is no fiber to get stuck in your teeth, and the flavor is mild and floral rather than aggressively spicy. Because the skin has not yet formed (suberized), you do not need to peel baby ginger; you can chop the entire root, skin and all.
How to Harvest: You do not need to sacrifice the whole plant to enjoy baby ginger. Carefully dig around the outer edge of the clump using your fingers or a small hand tool. Locate a rhizome extending outward, snap off a piece, and cover the remaining roots back up with soil. The plant will continue to grow.
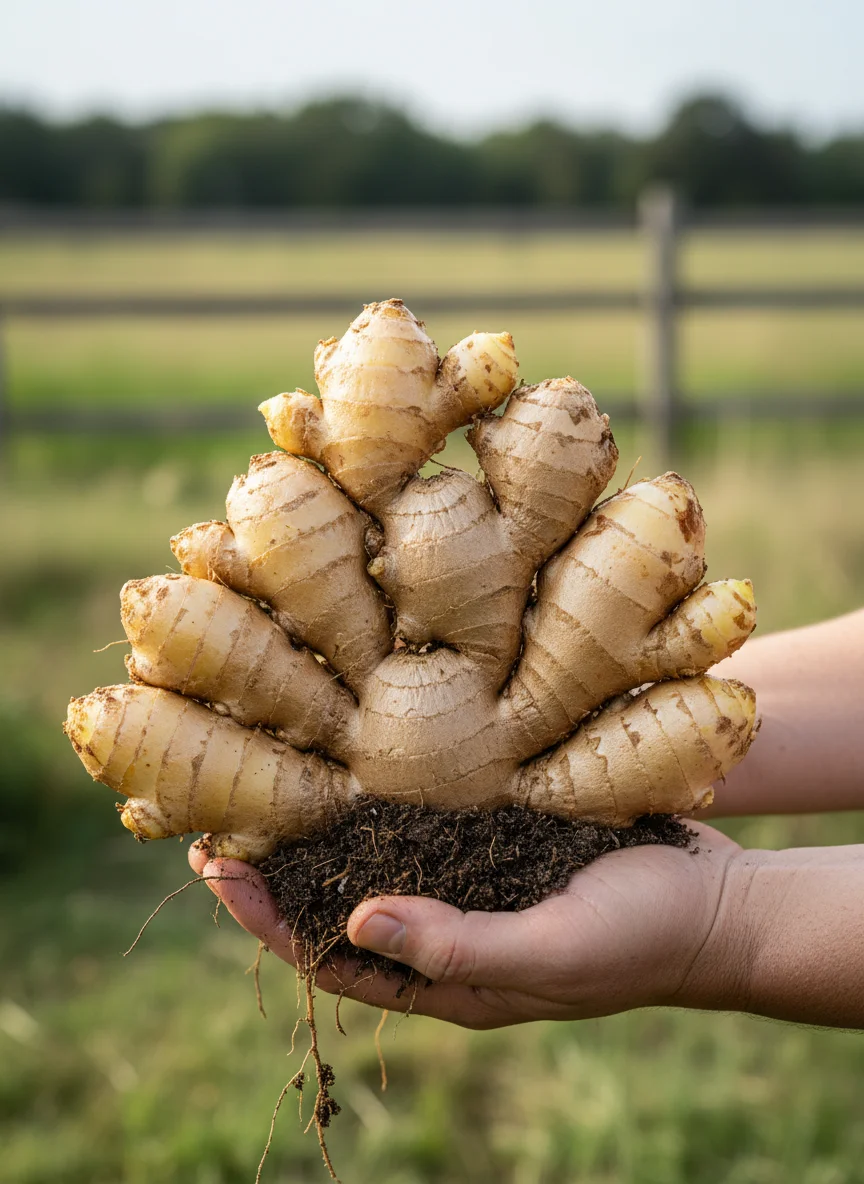
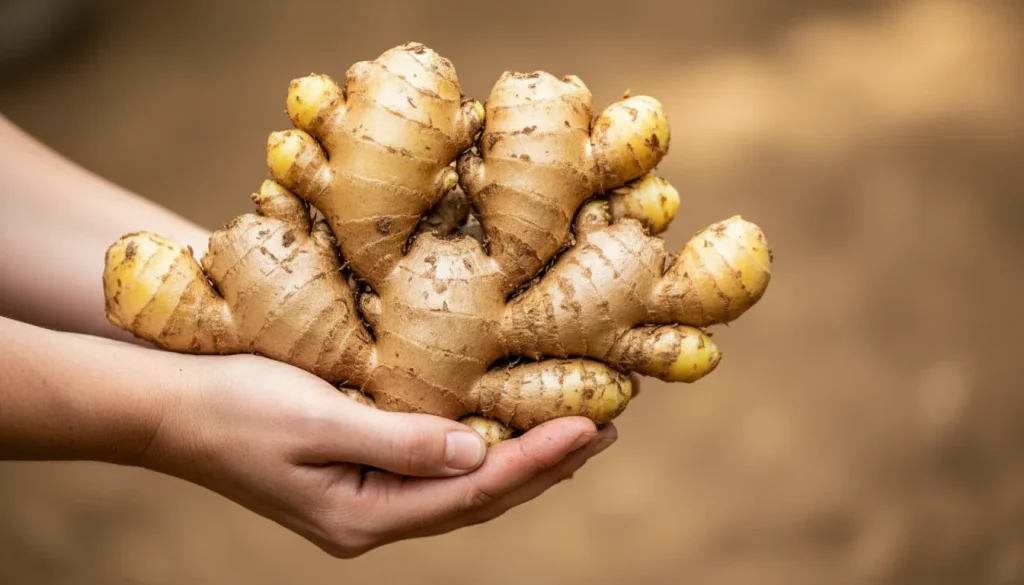
2. Mature Ginger (The Storage Staple)
Timeline: 8 to 10 months after planting.
This is the ginger you are familiar with. It has a tan, papery skin, a fibrous interior, and a potent, spicy kick. Biologically, the plant has shifted from growth mode to storage mode. It has thickened its cellular walls to survive a dormant period.
The Visual Signal: You will know it is time to harvest when the stems turn yellow and brown, and the leaves begin to wither and die back. This process, known as senescence, indicates that the plant is pulling energy from the foliage down into the rhizome. Wait until the tops have largely died down for the maximum size and shelf life.
The Pre-Harvest Preparation
This is often overlooked, but preparation for the harvest begins a week before you ever pick up a shovel. The condition of the soil plays a massive role in the ease of extraction and the cleanliness of the final product.
Stop Watering: Boring, but essential. About one week before you plan to harvest your mature ginger, cease all watering. You want the soil to dry out slightly. This serves two purposes:
- Soil Mechanics: Dry soil crumbles away from the complex, knobby rhizomes much easier than wet mud. Digging in dry soil reduces the amount of scrubbing required later.
- Curing Initiation: Reducing water signals the plant to harden off the skin of the rhizome, which is the first step toward long-term storage.
If you live in a climate with a short growing season, you must harvest all ginger before the first hard freeze. While the rhizomes are underground and protected from a light frost, a hard freeze can damage the cellular structure of the ginger, turning it to mush.
Step-by-Step Extraction Technique
Ginger rhizomes are surprisingly brittle. If you yank the stems, they will likely snap off, leaving the gold buried in the dirt. A systematic approach ensures you get the whole clump intact.
1. Loosen the Perimeter
Use a garden fork rather than a shovel. A shovel has a high probability of slicing through a hidden rhizome. A fork allows soil to pass through while gently lifting the roots. Insert the fork 4 to 6 inches away from the base of the stems. You want to give the plant a wide berth to avoid accidental impalement.
2. The Lift and Lever
Gently rock the fork back and forth to loosen the soil compaction. Work your way around the circle of the plant. Do not try to pry it up in one motion. Once the soil is loose around the entire circumference, slide the fork deep underneath the main clump and gently lever it upward while supporting the stems with your other hand.
3. Shake and Separate
Once the clump is free from the earth, hold it by the base of the stems and gently shake it to dislodge loose soil. If the soil is clay-heavy, you may need to massage the dirt out from the crevices. Be gentle; even mature ginger can bruise, and bruises become entry points for rot.
Post-Harvest Care and Curing
Once the ginger is out of the ground, the clock starts ticking on its storage life. How you handle the rhizomes in the first 24 hours determines whether they last weeks or months.
Trimming and Washing
Using sharp shears, snip the stems off as close to the rhizome as possible. If you are harvesting baby ginger, you can use the leaves for tea, as they carry a mild ginger scent. For mature ginger, the foliage is generally composted.
Wash the rhizomes immediately. A high-pressure hose is usually too aggressive and can strip the skin. Instead, soak the roots in a bucket of water to soften the dirt, then wipe them clean with a cloth or a soft brush. Period. Do not scrub aggressively if you intend to store them.
The Curing Process
If you plan to use the ginger immediately, no curing is necessary. However, for long-term storage, the skin needs to toughen further. Place the washed and dried rhizomes in a warm, dry, shady spot with good airflow for 2 to 3 days. This cures the skin and seals minor nicks.
Handling Damaged Roots: During the harvest, you will inevitably nick a few pieces with your digging tool. It happens to the best of us. These damaged roots will not store well because the protective barrier is breached. Use these pieces first. They are perfect for freezing (minced or whole) or for making a large batch of ginger syrup.
Sustainability: Replanting for the Next Cycle
Ginger is the gift that keeps on giving. You do not need to buy new seed ginger every year. Simply select the healthiest, plumpest piece of your harvest to save for the next planting season.
Look for a rhizome with visible “eyes” (small, bump-like buds). If you live in a tropical zone, you can replant immediately. If you are in a temperate zone, store this seed ginger in a box of dry sand or peat moss in a cool, dark place (around 50-60°F) until spring returns. This ensures an endless loop of harvests from a single initial investment.
Final Thoughts on the Ginger Harvest
Harvesting ginger provides a tactile connection to the cycle of growth that few other crops offer. The transition from a small, shriveled seed piece to a massive, aromatic clump of gold is nothing short of miraculous. By observing the foliage, timing your water restriction, and harvesting with care, you elevate your gardening from simple maintenance to skilled cultivation.
Read More
How to Grow Ginger at Home (Even in Small Spaces)