Can You Reuse Potting Soil in Containers? (Check These 5 Things First)
Disclosure: This article contains affiliate links. As an Amazon Associate, I earn from qualifying purchases at no extra cost to you. I only recommend products I would use myself.
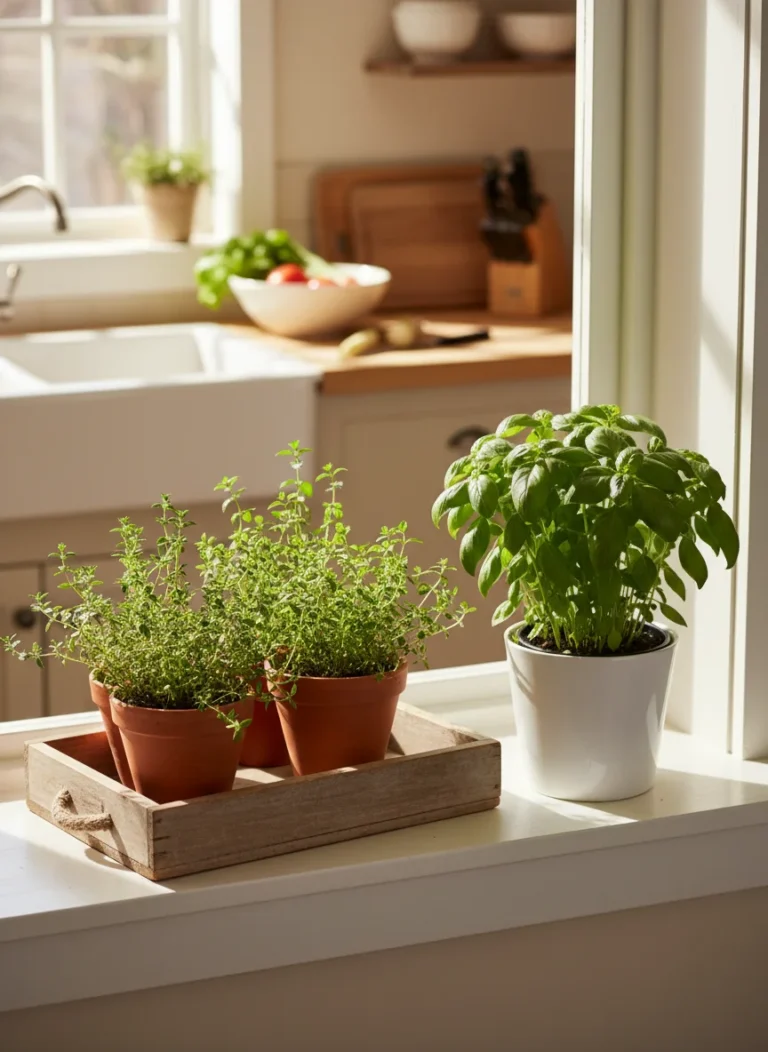
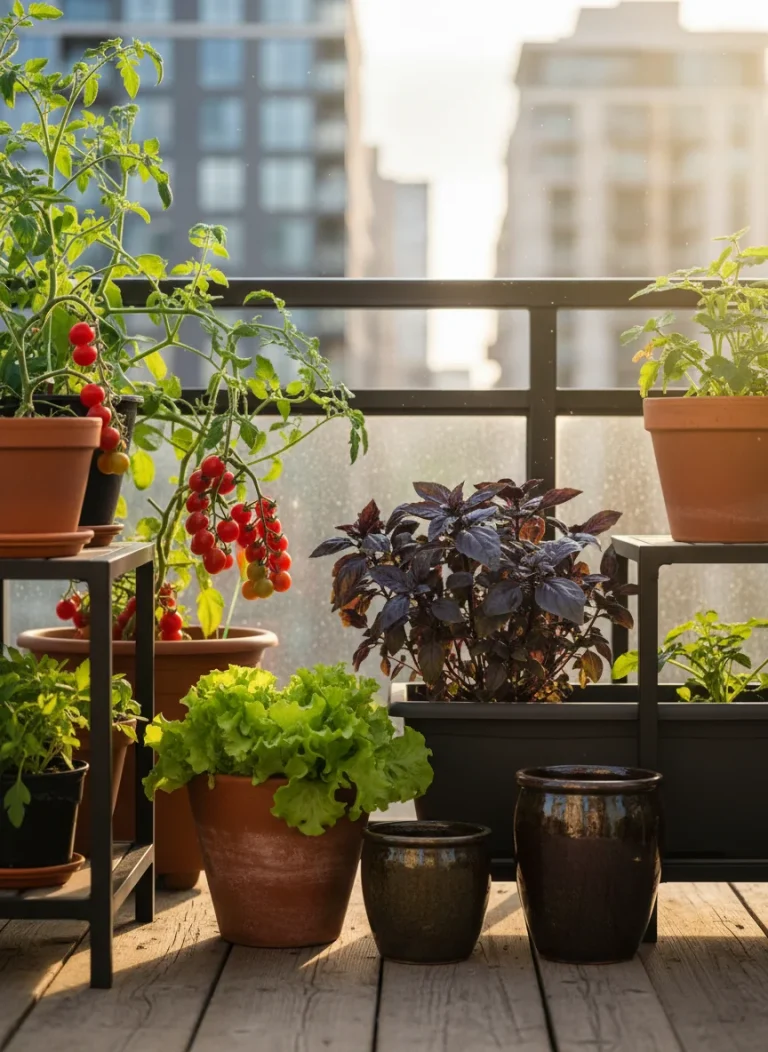
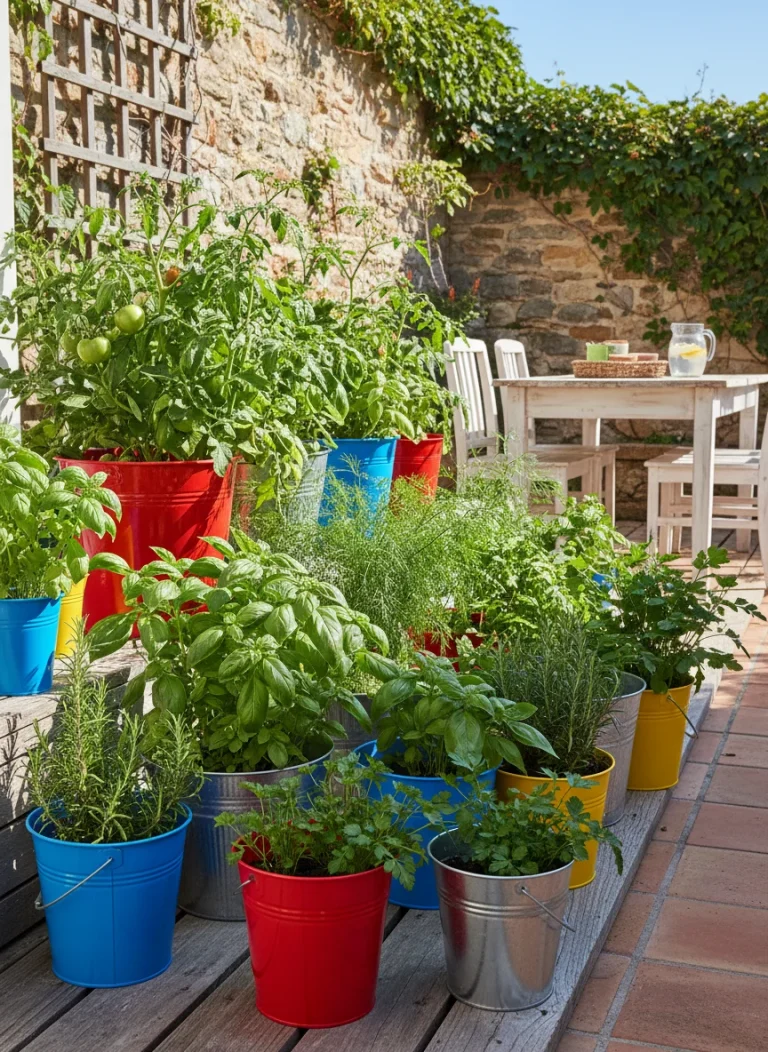
If you grew vegetables in containers last season, you probably have pots sitting around with old soil still in them. Buying fresh potting mix every single season adds up fast, so it makes sense to ask whether you actually have to.
The short answer is: sometimes yes, sometimes no. It depends on what was growing in the pot, what the soil looks and feels like now, and whether you are willing to give it a proper refresh before planting again.
This guide walks you through exactly how to make that call, and what to do with the soil once you have decided.
Why Potting Soil Degrades Over Time
Container soil has a harder life than garden bed soil. Every time you water, nutrients wash out through the drainage holes. Roots break down the organic matter that gives the mix its light, airy structure. By the end of a growing season, what started as a fluffy, well-draining mix can compact into a dense, nutrient-poor block that drains poorly and suffocates new roots.
This is especially true for vegetable containers, because vegetables are heavy feeders. They pull more from the soil than most flowering plants do.
That does not mean the soil is worthless. It means it needs an honest assessment before you decide what to do with it.
5 Things to Check Before Reusing Your Potting Soil
Work through these five checks in order. If the soil fails any of the first three, do not reuse it for vegetables.
1. Check for Signs of Disease
If the plant that was growing in this container showed signs of disease during the season, blight, wilting, fungal spots, do not reuse that soil for vegetables under any circumstances. Fungal spores and some bacterial pathogens survive in soil over winter and will infect your next crop before it has a chance.
If the previous plant was healthy from start to finish, move to the next check.
2. Check for Pest Eggs or Larvae
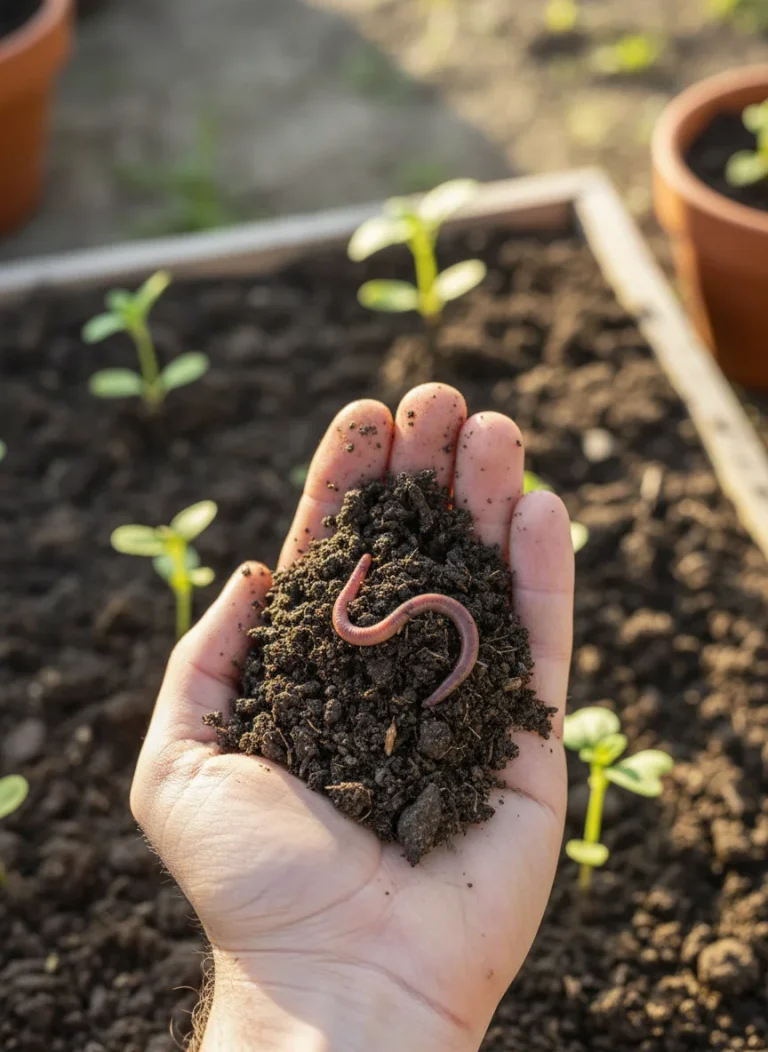
Tip the old soil out onto a tarp or a large sheet of cardboard. Break it up with your hands and look for small white grubs, clusters of eggs, or anything that moves. Fungus gnat larvae look like tiny white threads near the soil surface. Vine weevil grubs are cream-coloured and C-shaped.
Finding a few is not necessarily a dealbreaker if you plan to refresh and amend the soil properly. Finding a heavy infestation means the safest move is to dispose of the soil or compost it, not replant into it.
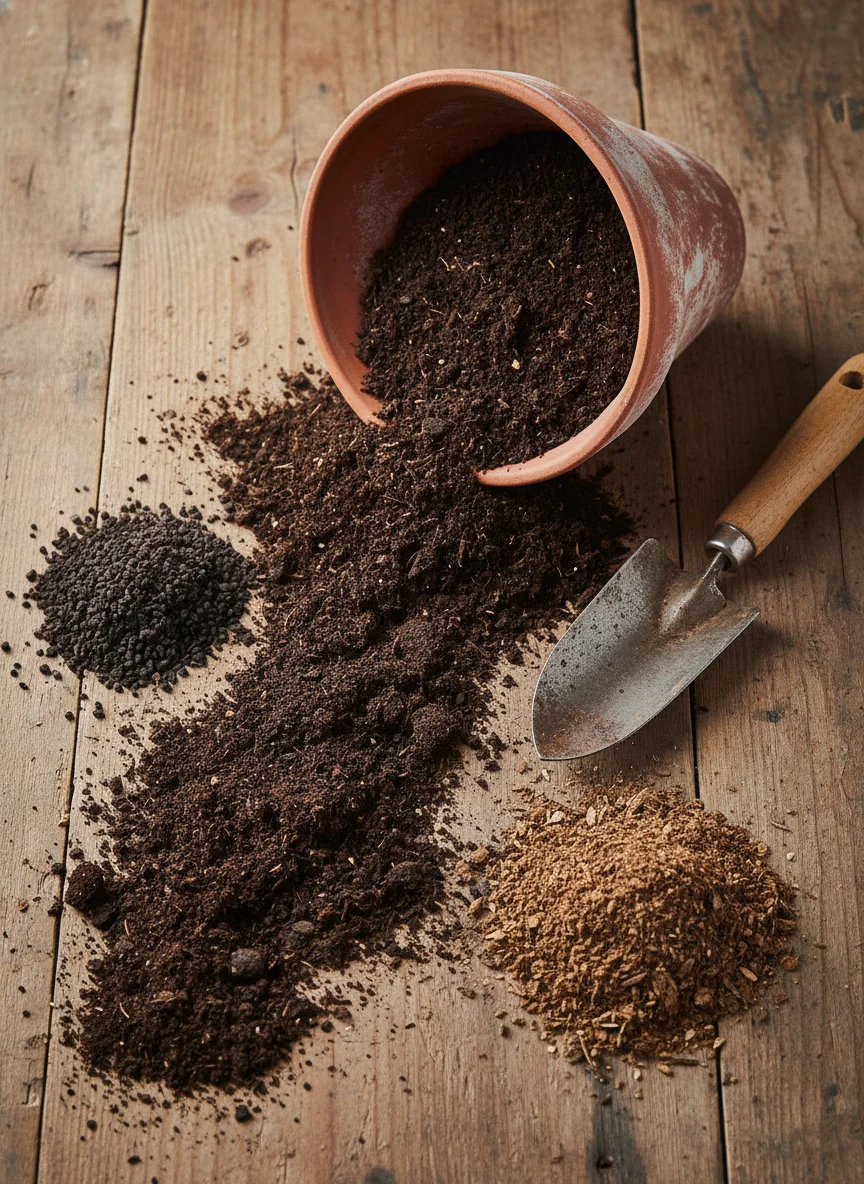
3. Check the Texture and Drainage
Squeeze a handful of the old soil. Fresh potting mix feels light and crumbles apart easily. Old compacted soil clumps into a dense ball and holds its shape. Take a small pot, fill it with the old soil, and pour water through it. If the water pools on the surface and drains slowly, the structure has broken down.
Heavily compacted soil can be refreshed, but it takes more amendment. Note how compacted yours is before deciding whether it is worth the effort.
4. Check What Was Growing in It
Some plants are harder on soil than others. Tomatoes and potatoes deplete nutrients aggressively and leave behind compounds that can inhibit future crops in the same family, a process called allelopathy. If you grew tomatoes, potatoes, or peppers in a container, it is best to either refresh that soil thoroughly and plant something from a different plant family, or set it aside for non-edible containers.
Leafy greens, herbs, and beans are relatively gentle on soil and leave it in better condition for reuse.
5. Check the Volume
Soil compresses over a season. If your container looks half-empty compared to when you planted, that lost volume needs to be replaced with fresh material regardless of whether the rest of the soil is in good condition.
When to Replace Entirely Instead of Refreshing
Some situations call for starting fresh rather than trying to revive old soil:
- The previous plant had a confirmed disease
- There is a visible heavy pest infestation
- The soil smells sour or rotten, which signals anaerobic conditions from overwatering
- The mix has been used for three or more consecutive seasons without amendment
In these cases, dispose of the old soil by spreading it into a garden bed or compost pile. Do not put diseased soil into a compost pile that does not reach high temperatures.
How to Refresh and Reuse Potting Soil That Passes the Checks
If your soil passed all five checks, here is a simple method to bring it back to life before planting.
What you need:
- Old potting soil
- Worm castings
- Fresh compost or a small bag of quality potting mix
- A slow-release vegetable fertiliser (optional but recommended)
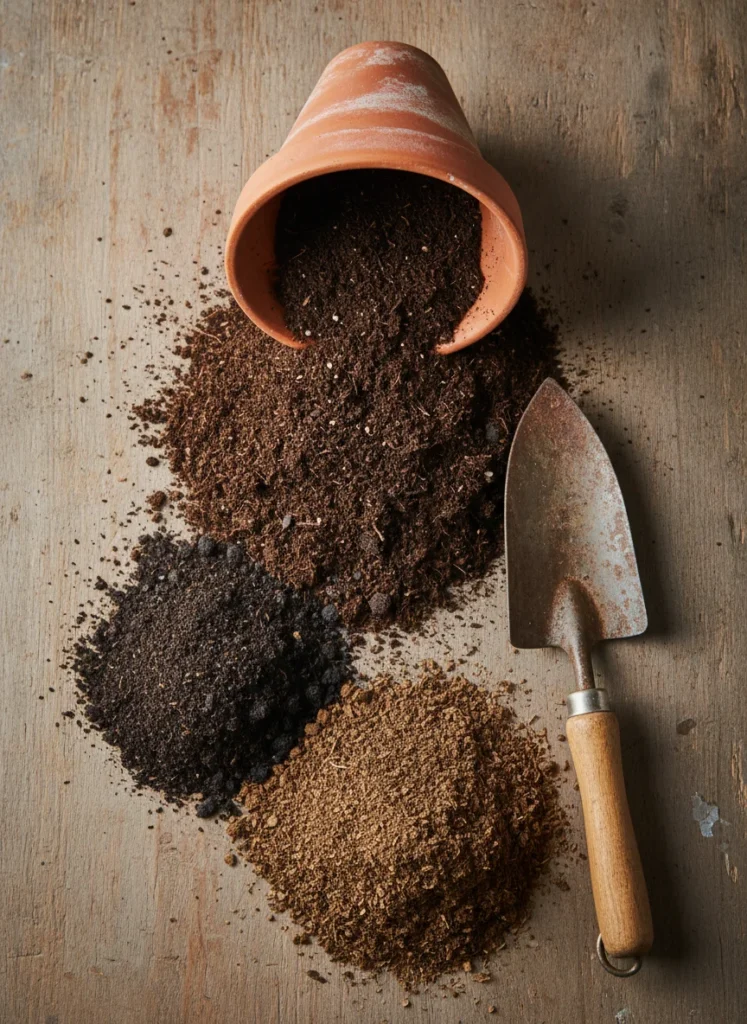
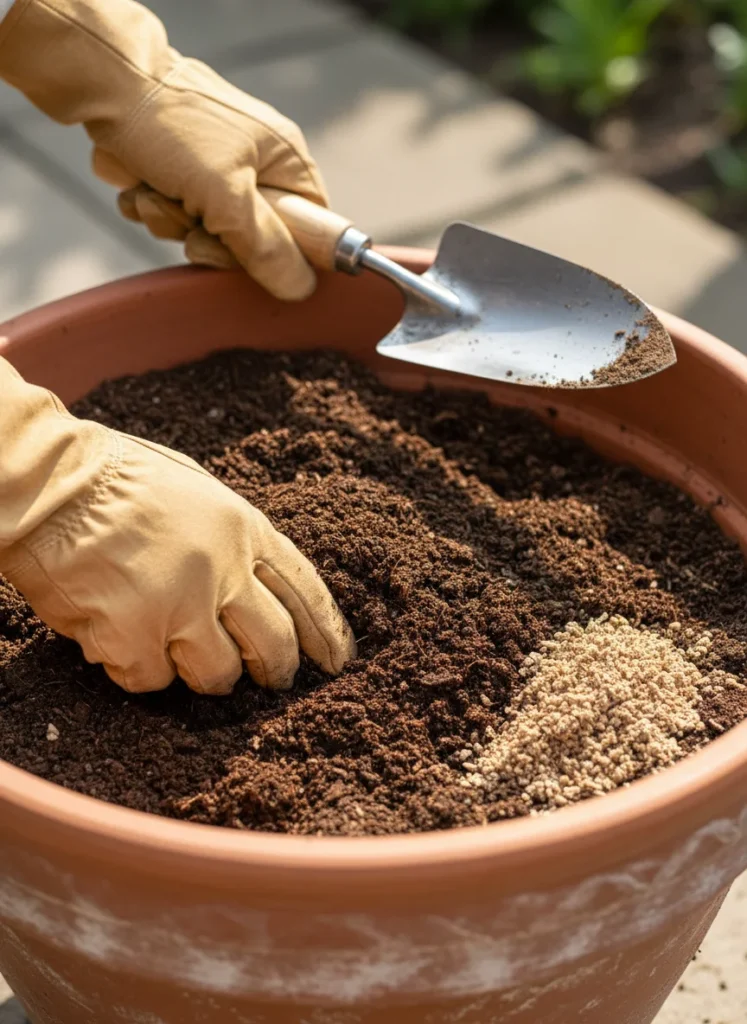
Step 1: Break it up Empty the container and break the old soil apart thoroughly by hand or with a trowel. Remove any old roots, chunks of woody material, or debris.
Step 2: Add worm castings Worm castings reintroduce beneficial microbial activity and add gentle nutrition without burning new roots. Add roughly one part worm castings for every five parts of old soil. Wiggle Worm Soil Builder worm castings are a reliable and widely available option.
Step 3: Add fresh material Mix in one to two parts of fresh potting mix or compost to restore volume and improve structure. This also dilutes any residual salt build-up from previous fertilising.
Step 4: Add a slow-release fertiliser If you are planting vegetables, mix in a balanced slow-release fertiliser according to the package rate. This gives your new plants a steady supply of nutrients from the start without relying on depleted reserves in the old soil.
Step 5: Let it rest If time allows, mix everything together, moisten it lightly, and let it sit for one to two weeks before planting. This gives the microbial activity a chance to reactivate and the amendments time to integrate.
How Many Seasons Can You Reuse the Same Soil?
With proper refreshing, most potting soil can be reused for two to three seasons. After that, the organic matter has broken down too far for amendments alone to restore the structure, and the risk of salt and pathogen build-up rises enough that starting fresh is the smarter call.
Keep a simple note on or near each container with the year you started the soil and what you grew in it. This takes thirty seconds and saves you guessing later.
A Note on Peat-Free Mixes
If your current potting mix is peat-based, you will notice it compresses and degrades faster than peat-free alternatives. This is one of the practical reasons gardeners are moving toward coco coir-based and compost-based mixes. They hold their structure longer, are easier to rehydrate after drying out, and are a more sustainable option. When the time comes to replace your soil entirely, it is worth choosing a peat-free mix as your starting point.
The Bottom Line
You do not need to buy new potting soil every single season. Do the five checks, refresh what passes, replace what does not. A bag of worm castings and a partial top-up of fresh mix will cost you far less than buying new soil for every container, and your plants will grow just as well.
Growing vegetables in containers? Browse the rest of our container gardening guides for tips on watering, feeding, and choosing the right setup for small spaces.